Searching and Filtering Users
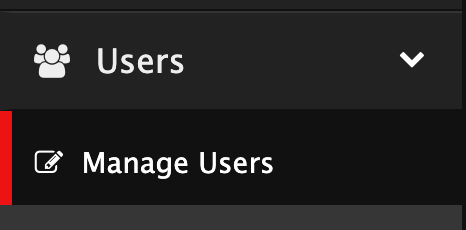
To manage users, navigate to Manage Users.

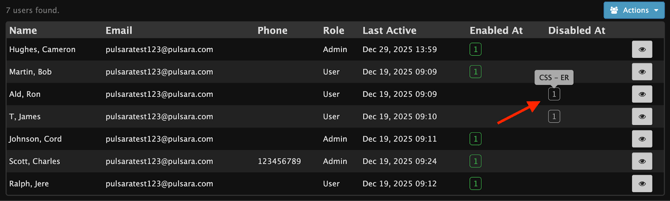
By default, all users at your organization will appear.
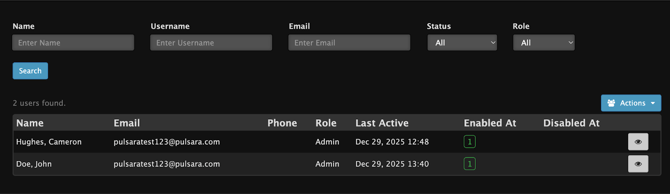
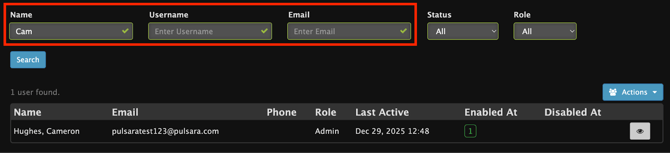
Users are able to be searched by Name, Username, or Email. Searching these fields will return any users whose Name, Username, or Email contains the search value.
Note: Text searching is not case sensitive, and it returns results based on partial or full matches.
Note: One screen length of users will be displayed. To filter users beyond the initially displayed users, search with filters.
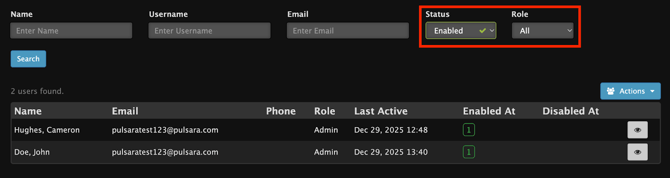
Users are able to be filtered by Status (All, Enabled, Disabled) and Role (All, Admin, or User).
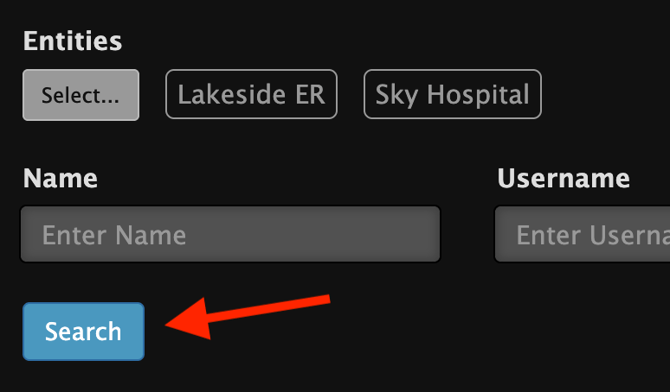
Multi-Facility Admins are able to filter the search by facility. The currently selected facilities will be displayed.
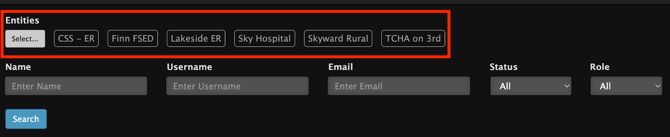
To filter entities, click Select… and check the entities to display. Then select to display the entities.

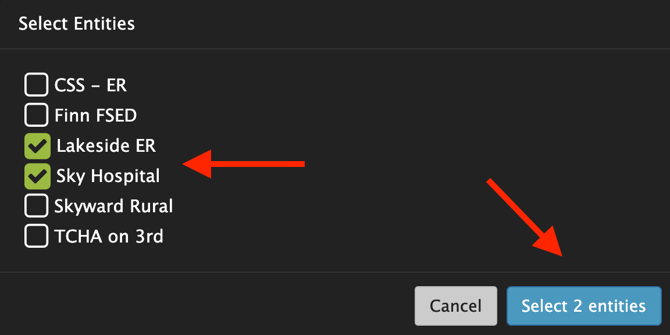
Click search to display users at those entities.
Editing User Details
To edit a user’s account details, select the edit icon in the account details row.

Included is Editing Account Details for more information.
+Adding users to Entities/Teams
Adding Teams
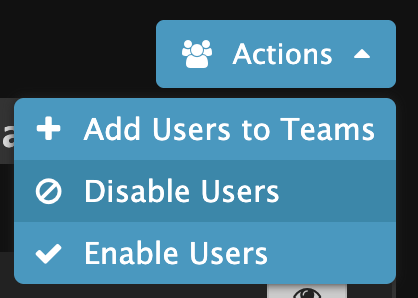
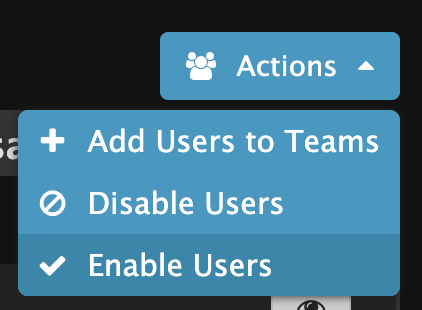
To add users to teams, select the Actions Icon and + Add Users to Teams

Note: Multi-Facility Admin will first need to select the Entities to add users to a team at.
Select the team(s) to add users to.
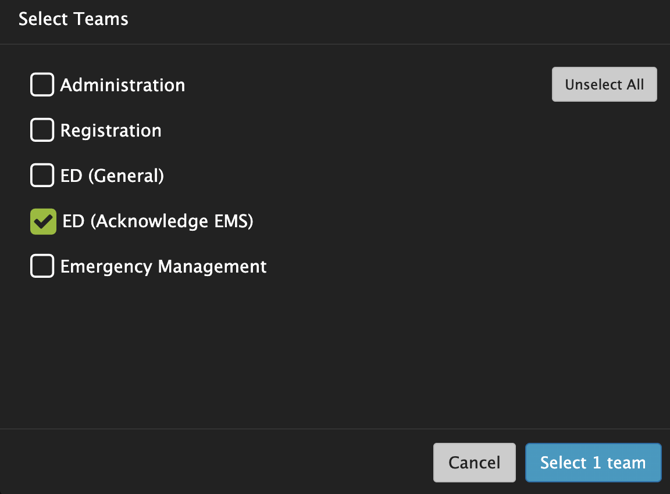
Check the box next to the users to add them to the desired team, then select Proceed.

A successful pop-up will appear.

Adding Entities
Note: This only applies to Multi-Facility Admin
As a Multi-Facility Admin, users can be added to additional entities.
Note: Users who exist at one of the entities that a Multi-Facility admin is an admin at are able to be added to additional locations. If the user is currently not at any of the locations similar to that of the admin, then the user will need to receive a new invite to link their account to the location. Included is Adding Access to a New Facility for an Existing Pulsara Account.
To add users to additional entities, select the Actions Icon and + Add Users to Entities/Teams

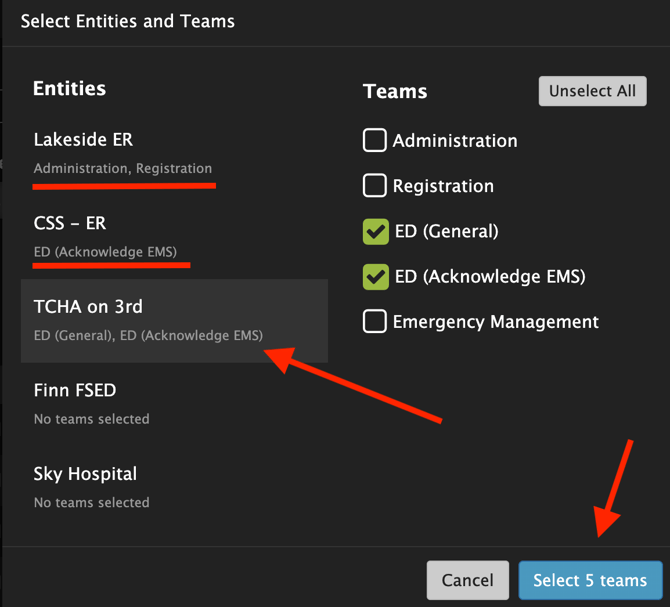
Select the Entity and Team(s) at the Entity
Note: Multiple entities and multiple teams can be selected. To view more than the entities that are displayed, scroll down the list of displayed entities.
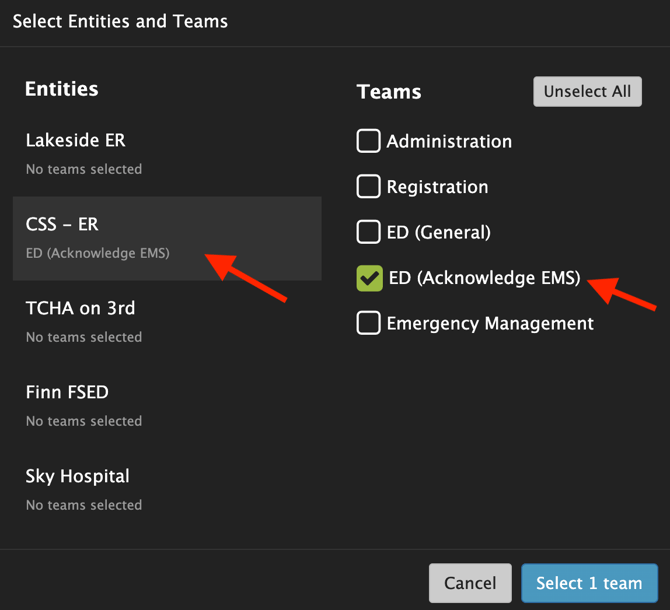
To select multiple entities, click another entity.
Check the box next to the users to add them to the desired Entity and team(s), then select Proceed.
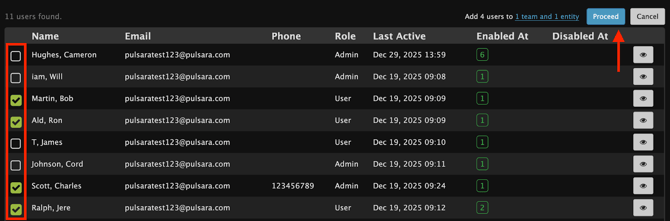
A successful pop-up will appear.

Disable Users
To disable users, select the Actions Icon and Disable Users.
Note: Multi-Facility Admin will first need to select the Entities to disable from.
Check the box next to the users to disable them from the desired Entity, then select Proceed.
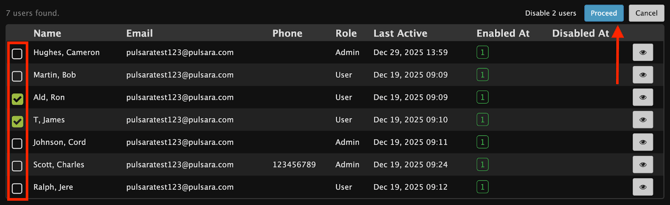
A successful pop-up will appear.

The users will now appear disabled at that entity
Enable Users
To enable users, select the Actions Icon and Enable Users
Note: Multi-Facility Admin will first need to select the Entities to enable at.
Check the box next to the users to enable them from the desired Entity, then select Proceed.
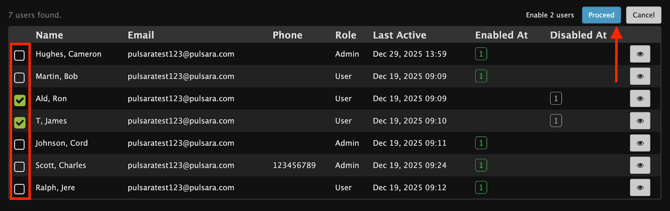
A successful pop-up will appear.

Exporting User List
To export a list of users across any organization, navigate to Manage Users.
If any search filters have been applied, the export will be limited to visible results.

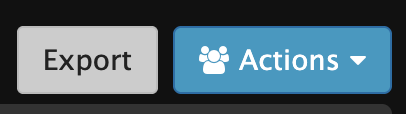
Select the Export Button
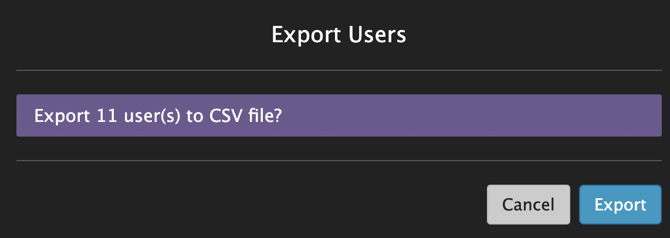
Confirm the number of users to export click Export
The export will be saved as a CSV and will include the following data:
- User ID
- Name
- Phone
- Role - across all entities
- Estimated Last Activity
- Entities the user is at
- Status per entity