Integrating Stryker LIFEPAK Monitors with Pulsara will allow medics to attach digital ECGs to a patient channel and share them with the entire care team.
Note: Both LIFEPAK 15 & LIFEPAK 35 are able to be integrated.
Step 1: Contact Pulsara Support and provide the following information:
- Your LIFENET account name
- Primary LIFENET contact name
- Organization address (city, state, zipcode)
- Primary phone number and email
- The name of the Pulsara Application you wish to connect.
Step 2: Pulsara will engage with Stryker’s Solution Center and act as the technical point of coordination.
Step 3: Someone from the Stryker Solution Center will contact you with the following:
- Validation of your LIFENET and LIFEPAK configuration
- Instructions on how to configure your LIFENET account to route data to Pulsara including the account name and GUID which will be required for configuration
Step 4: To configure the Integration the following are required:
- The LIFENET account GUID associated with your organization. The account GUID is available in your LIFENET System, on the Account Information screen.
- The serial numbers for the monitors you wish to integrate
- An administrator account in Pulsara
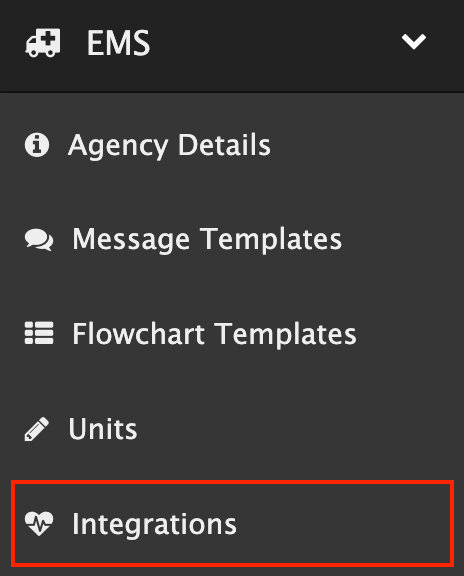
Step 5: As an admin in Pulsara, log into Pulsara and navigate to the integrations section.
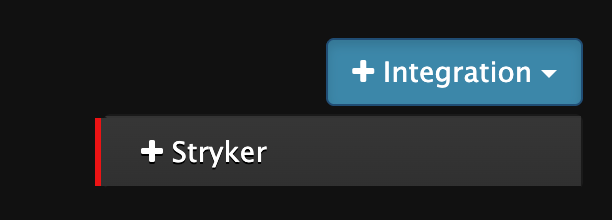
Select +Integration and Select Stryker
Choose YES to enable the integration, enter the Stryker LIFENET Account GUID for your organization and select Save.
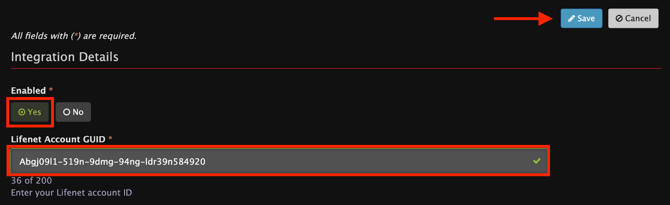
You will be returned to the Integrations screen.
Step 6: To configure a Stryker monitor, you will need the monitor’s serial number, and you will need to decide on a user-friendly device name for the unit.
Click on the Devices button to the right of the Stryker integration to which you will be adding a Stryker monitor. This will display the Stryker Devices screen.

Click on the + Device button to configure the monitor.

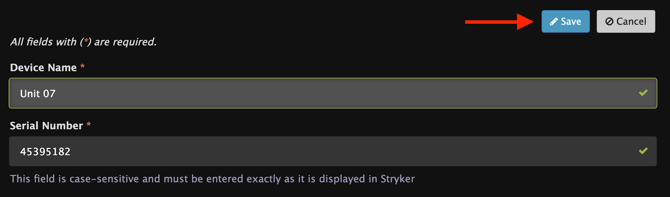
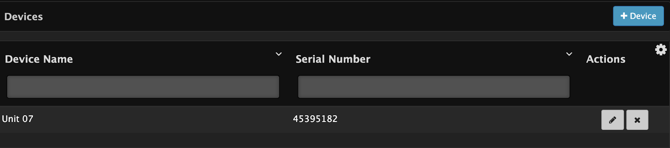
Enter the Device Name. This is the unique name given to the device for use at your organization. Ex “Unit 07”
Enter the serial number of the device and click on the Save button.
Note: This field is case-sensitive and must be entered exactly as it is displayed in Stryker LIFENET
You will be returned to the Stryker Devices screen, which will display the newly configured monitor.
Step 7: Once the Stryker integration has been enabled and the monitors have been configured, ECG can now be attached to patient channels.
Included is Attach an ECG to a Patient Channel for how to add an ECG to a patient channel.