Clearly identifying a patient’s triage condition is an important step to getting them the care they need.
A few highlights
- Add condition information to communicate important information to the care team
- Inform receiving facilities of the triage condition before you arrive
- Pair with Configurable IDs to scan triage tag barcodes.
NOTE: Barcode scanning is only supported in Pulsara Mobile
Contact Pulsara to learn more
Adding Triage Condition in Pulsara Mobile
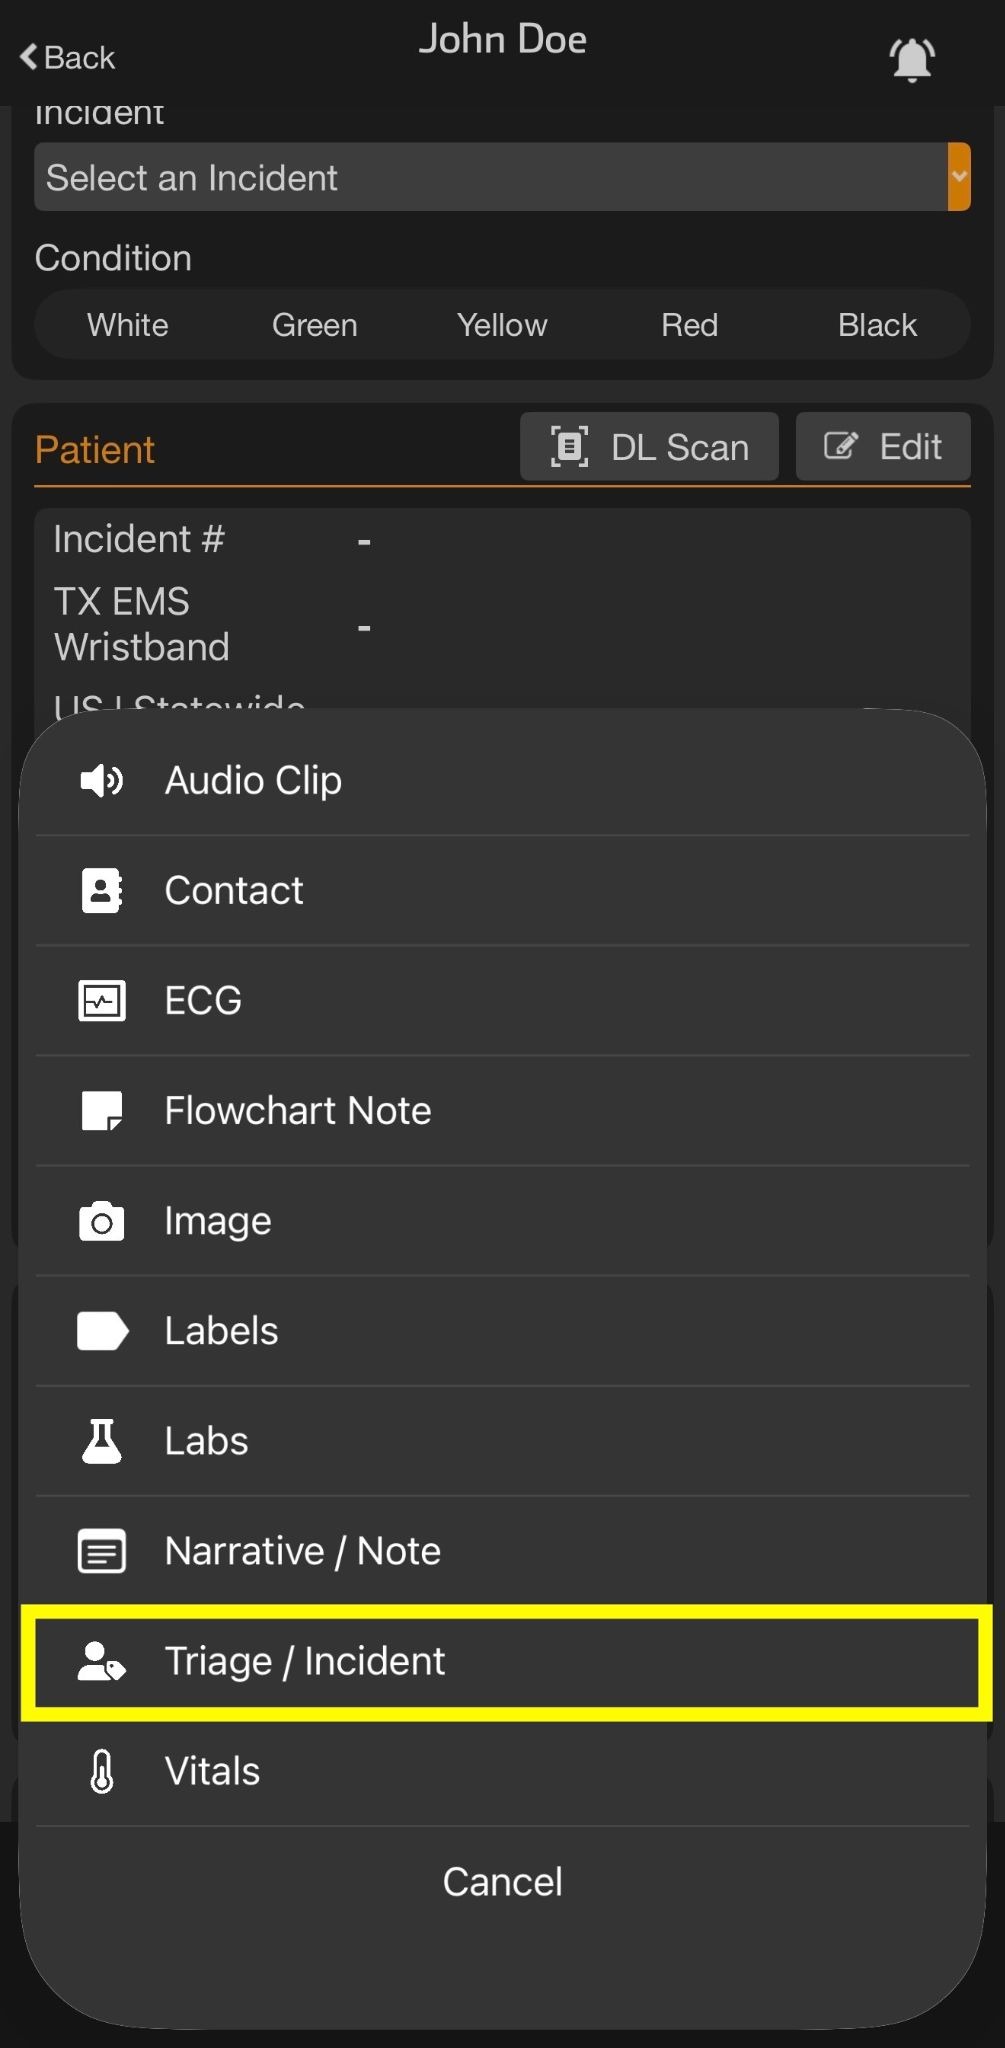
To add Triage Condition to a patient channel, tap the Add “FAB” (Floating Action Button).
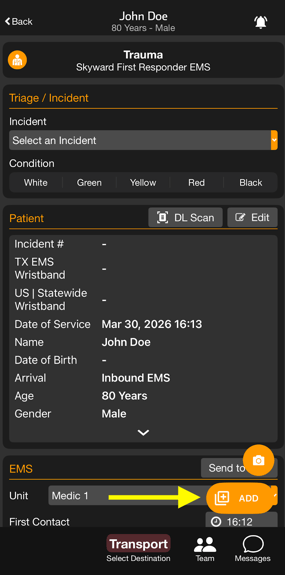
Tap the Triage icon.
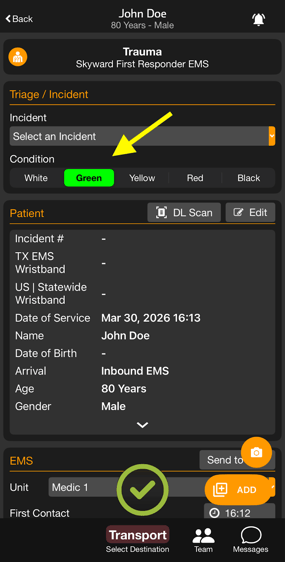
After tapping the Triage icon, the Triage section with Triage Condition will appear at the top of the patient channel

To change the Patient’s Triage Condition, white, green, yellow, red, and black triage condition tags will be available to choose from, in accordance with the industry standard for triage tags.
Adding Triage Condition in Pulsara Web
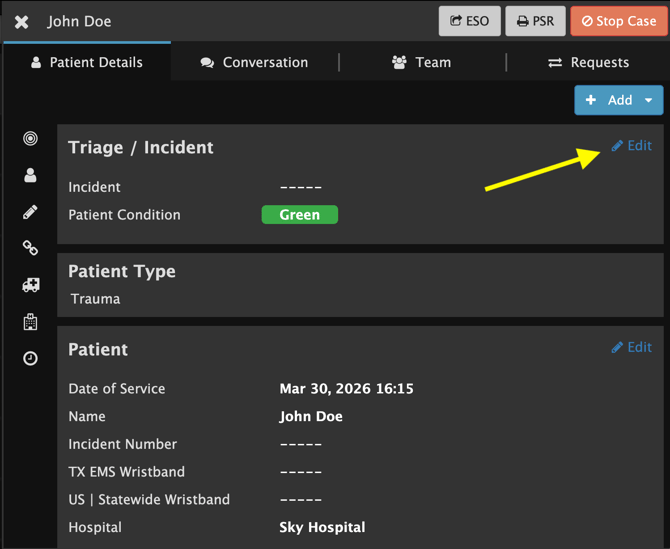
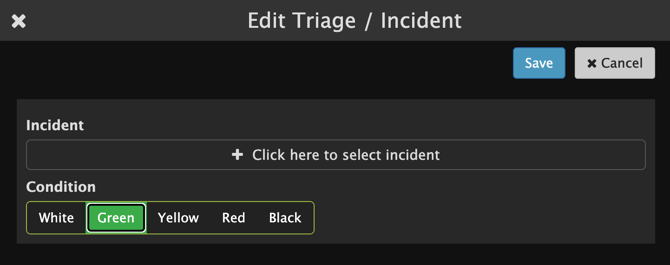
To add a Triage Condition from Pulsara Web, click the blue +Add button in the top right corner, then click Triage / Incident.

Select the appropriate Triage Condition and click Save.
Triage Condition will be displayed in Pulsara Web above the patient case type and to the left of the patient information.

To edit the Triage Condition, open the patient details and select Edit. Select from the available white, green, yellow, red, and black triage condition tags.