1. Search for the PULSARA Application in the Apple App Store or Scan the QR Code below with your QR Code Scanner.
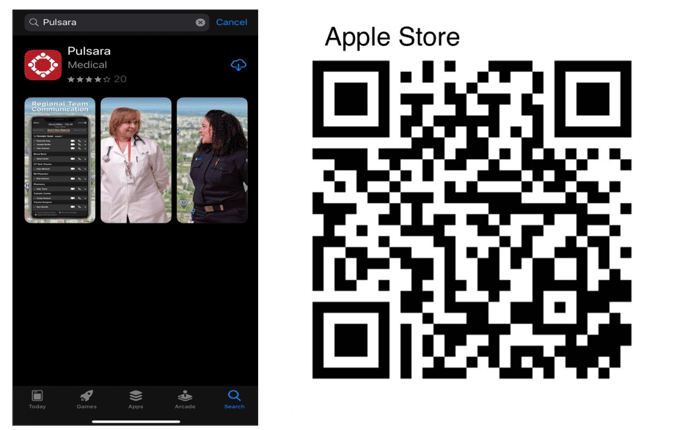

2. Download the application to your device.
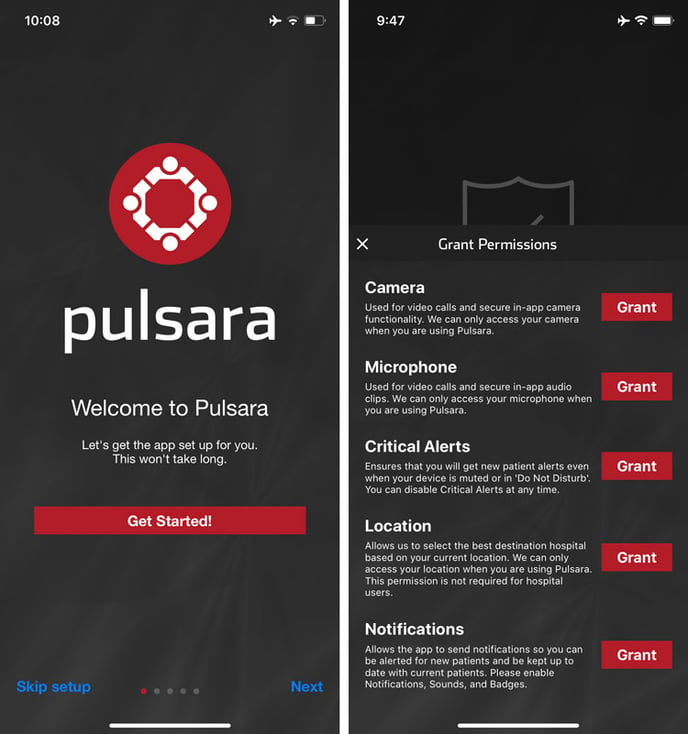
3. Once the application is downloaded to your device, open the PULSARA application by pressing on the Pulsara icon.
4. Follow the guided prompts to give Pulsara access to all the phone features (permissions) it needs to work (camera, microphone, critical alerts, location, and notifications).
5. After dismissing the permissions panel using the "x" on the left side, tap the 'Enable Persistent Banners' button, then, tap Setup in the prompt that appears.
This will direct you to the phone OS settings. Tap on the Notifications options.
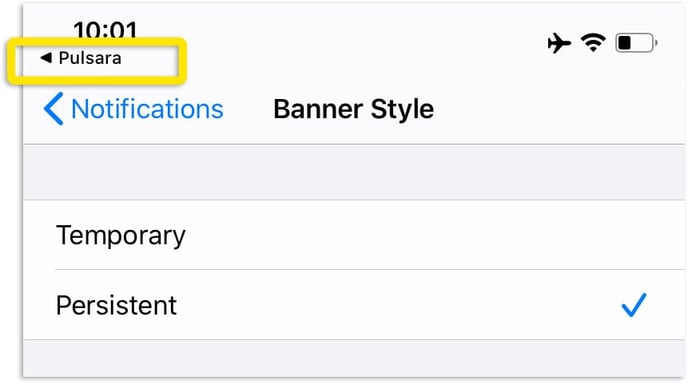
Next, tap on the Banner Style area of the notifications section.
Set notifications to Persistent.
NOTE: The delivery of Pulsara notifications may be affected by the "Driving Mode" settings of your phone.

6. After changing the Banner Style to Persistent, tap the Pulsara shortcut in the upper left to continue the guided setup final steps.
After completing the remaining steps, this confirmation screen will display.
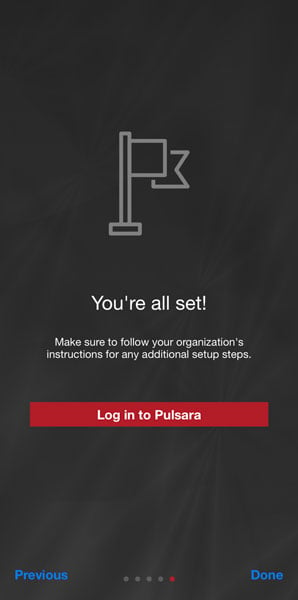
That's it, you're now ready to login in and use Pulsara!
If the guided prompts above have been skipped:
Continue with the steps below to complete a manual setup of Pulsara.
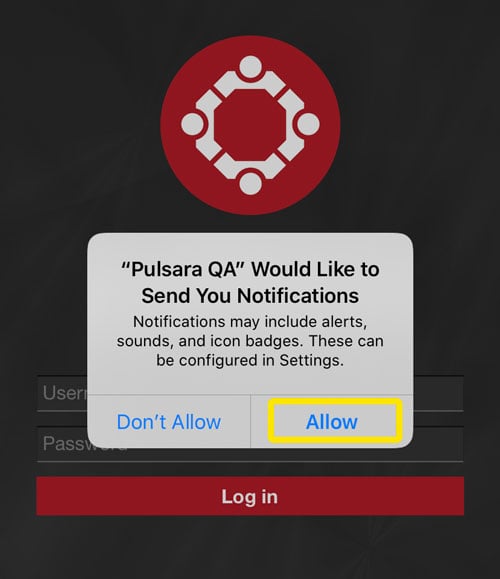
1. Login to the application with the credentials you created during account setup.
Tap Allow in the prompt to allow notifications from Pulsara.
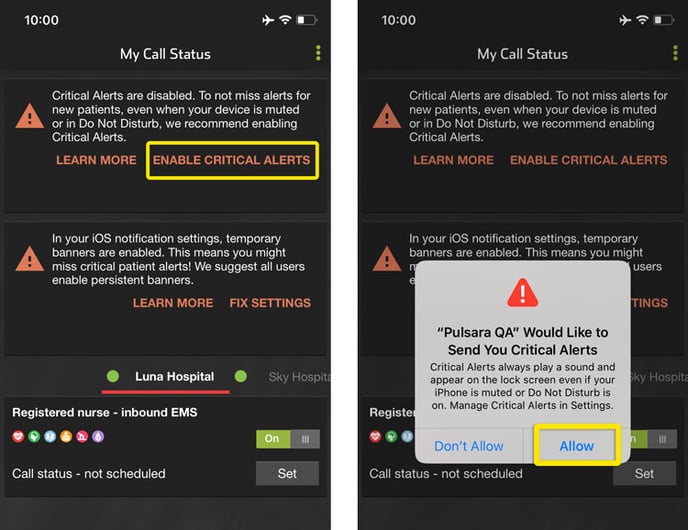
2. When you first login, you will be directed to the "My Call Status" screen. On this screen, you can set your call status to ensure you receive all appropriate alerts. You will also notice multiple warning messages prompting additional app configuration.
To ensure that you properly receive all notifications, you will need to enable critical alerts. Tap on the top prompt Enable Critical Alerts, and then tap Allow on the pop-up that appears.
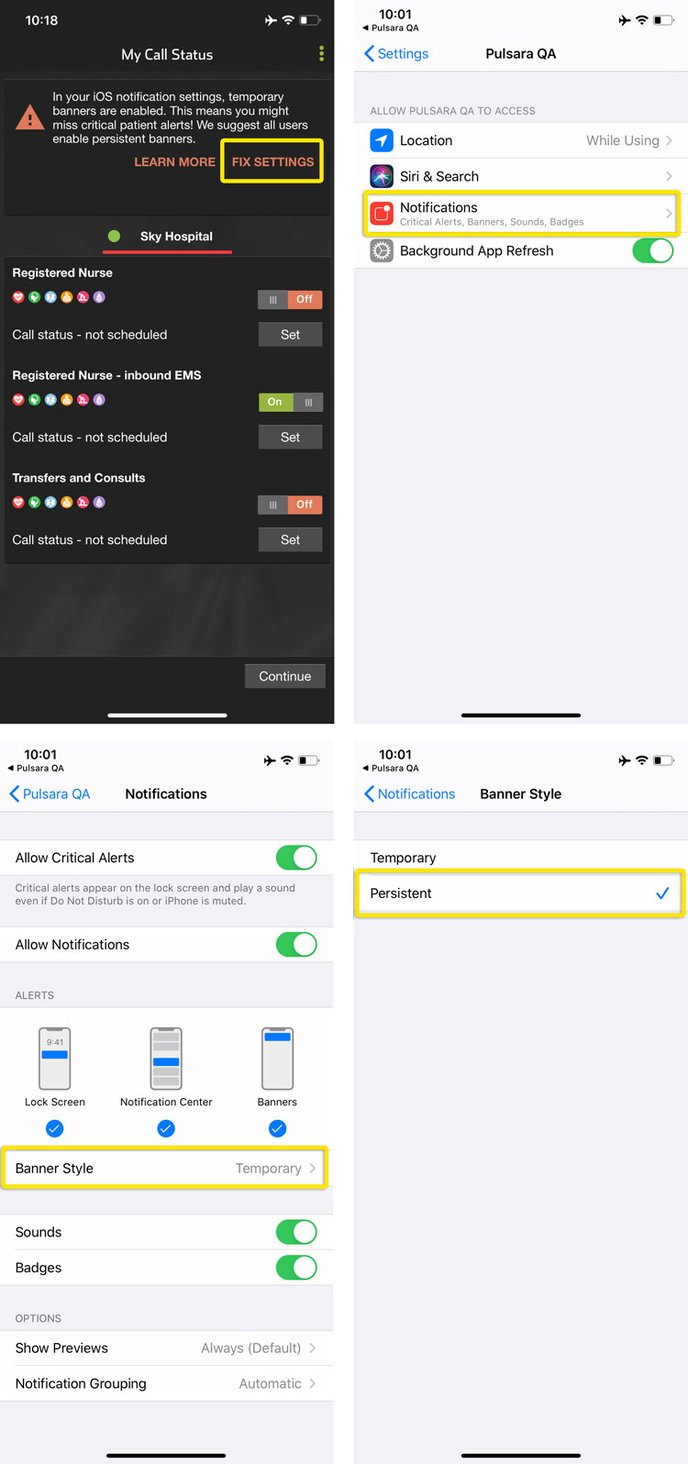
3. Next, press the Fix Settings button.
This will direct you to the phone OS settings. Tap on the Notifications options.
Next, tap on the Banner Style area of the notifications section.
Set notifications to Persistent.
4.When you have completed the notification settings, navigate back to the Pulsara app.
Video Settings
Next, we will enable your device so that you can participate in Video Calls. In the upper left hand corner, tap on the three horizontal lines and then tap on New Patient. Tap on General Patient.
During these steps, we will initiate a new patient to set up your device for Video Calling. After video settings are correct, we will cancel this case and not alert anybody.
Select ED Patient and scroll down to the Images Button. Once you tap on the Images button, you will receive a prompt to allow access to the camera. Tap OK.
.png?width=688&name=IMG_0029%20(1).png)
To enable your microphone, tap on the Audio button, right next to the Images button. Tap on the + icon in the lower right corner. Once you press the + button, you will receive a prompt to enable microphone access. Tap OK.
.png?width=688&name=IMG_0033%20(1).png)
Finally, as we do not want to start a case at this time, tap on the x-Cancel button in the upper left hand corner to avoid alerting a team.
That's it! Your Pulsara app is now enabled for communication via camera, microphone, and push notifications.