Required Setup for Requests:
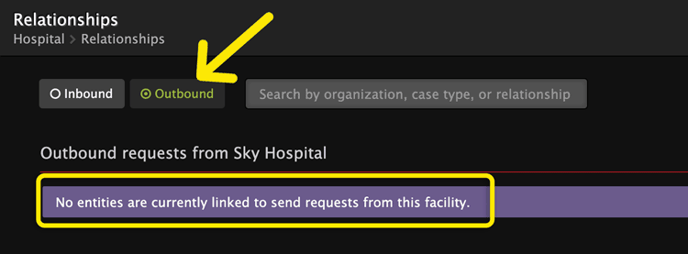
To access adding a Consult or Transfer option, Outbound relationships must already exist in Pulsara MANAGER between the facility where the patient is and the facility being contacted.
Note: A patient channel must be created prior to adding a Transfer or Consult request.
To see the Transfer option, the following must be true:
- At least one Transfer relationship exists with another facility for the current patient type. For example, if the desire is to transfer a Stroke patient, a Transfer relationship for Stroke must exist in Pulsara MANAGER.
- ED Arrival must be set for the patient.

Request a Consult
1. Click on the Requests icon (two-way arrows) in the upper right of the Patient Details panel.

2. Then click on the + Consult button.

Select the organization for the Consult. The menu will only display organizations that are configured in Pulsara MANAGER to receive Consult requests from the current facility for the current patient type.

The Teams available for Consult at the selected facility will appear as a list below. Click on the desired team.
Read the instructions provided by the organization, if applicable.

Click Save when ready.

The new Consult will appear on the Requests card with a timestamp and the two organizations included in the Consult.
The Consult recipient will receive a notification for the request.

Request a Transfer
1. Click on the Requests icon (two-way arrows) in the upper right of the Patient Details panel.

2. Then click on the + Transfer button.

Choose the desired transfer receiving facility from the Destination field menu. Only facilities configured for Transfer for the current patient type will appear as transfer destination options.

Follow the transfer instructions listed below the phone number, as shown below.
 Click Save.
The facility receiving the Transfer request will receive a push notification in Pulsara and the Requests section will update to reflect the pending transfer request. The question mark in the request row indicates that the receiving facility has not answered the question as to whether or not they will accept the transfer.

When the transfer request has been accepted, the Requests section will update with a new status of "Transfer Accepted."
If your organization has configured Team Alerts for the Transfer acceptance, push notifications will be sent to teams at both the sending and receiving facility indicating the transfer was accepted and the request row will update to indicate the accepted transfer.

After the receiving facility sets the ED Arrival for the Patient, the Transfer will update to ‘Transfer Completed’.
