Note: Pulsara can not send user invitations. If you need an invitation to create your Pulsara account, please contact your Pulsara administrator at your facility. Review the knowledge base article on User Invitations for more information.
Note: This article explores creating a Pulsara account using Pulsara as the identity platform. If your facility utilizes federated authentication, please refer to the Federated Authentication User Account Setup Process.
Step 1)
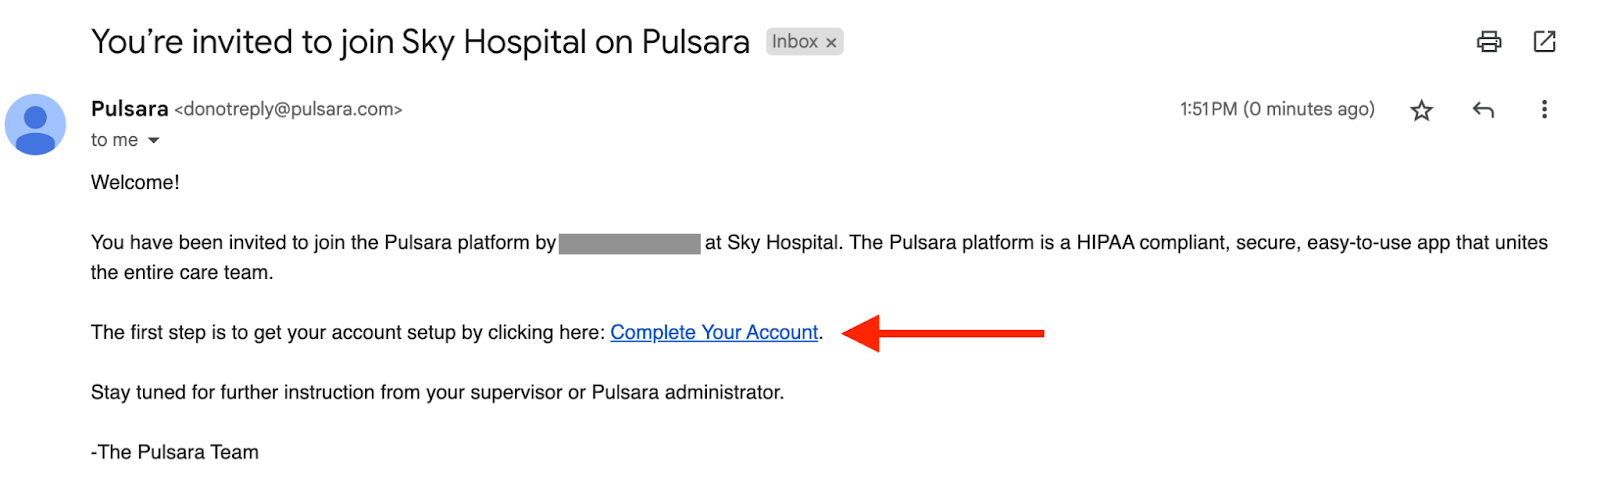
Invitations will be emailed to you from the email address (donotreply@pulsara.com). Open the email to begin creating your account.

Step 2) Select “Complete Your Account”
Note: Invitations are valid for 14 days. If your invite has expired, a Pulsara administrator at your facility will need to resend the invitation.
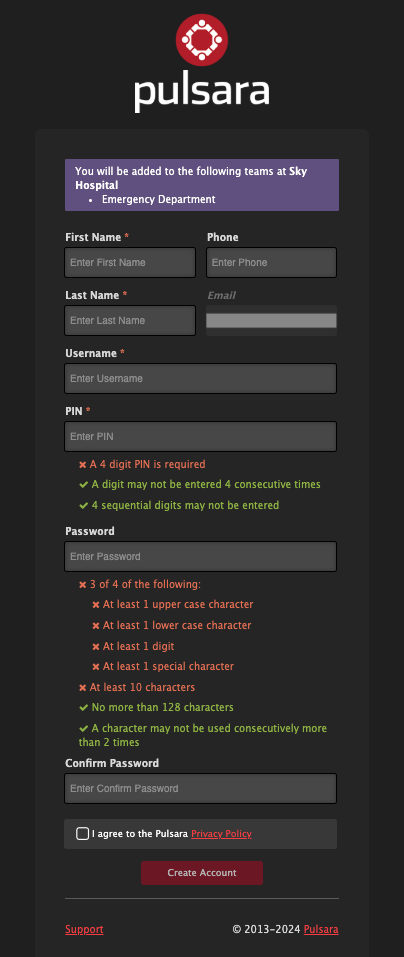
Step 3) Fill out the required information to complete your account and select save.
Note: If you are attempting to link your account to multiple hospitals, review Adding Access to a New Facility for an Existing Pulsara Account.
You have successfully created an account. If you need assistance with account recovery for username or password resets, review the knowledge base article on Username, Password, or PIN Recovery.