Create an incident in Pulsara Mobile
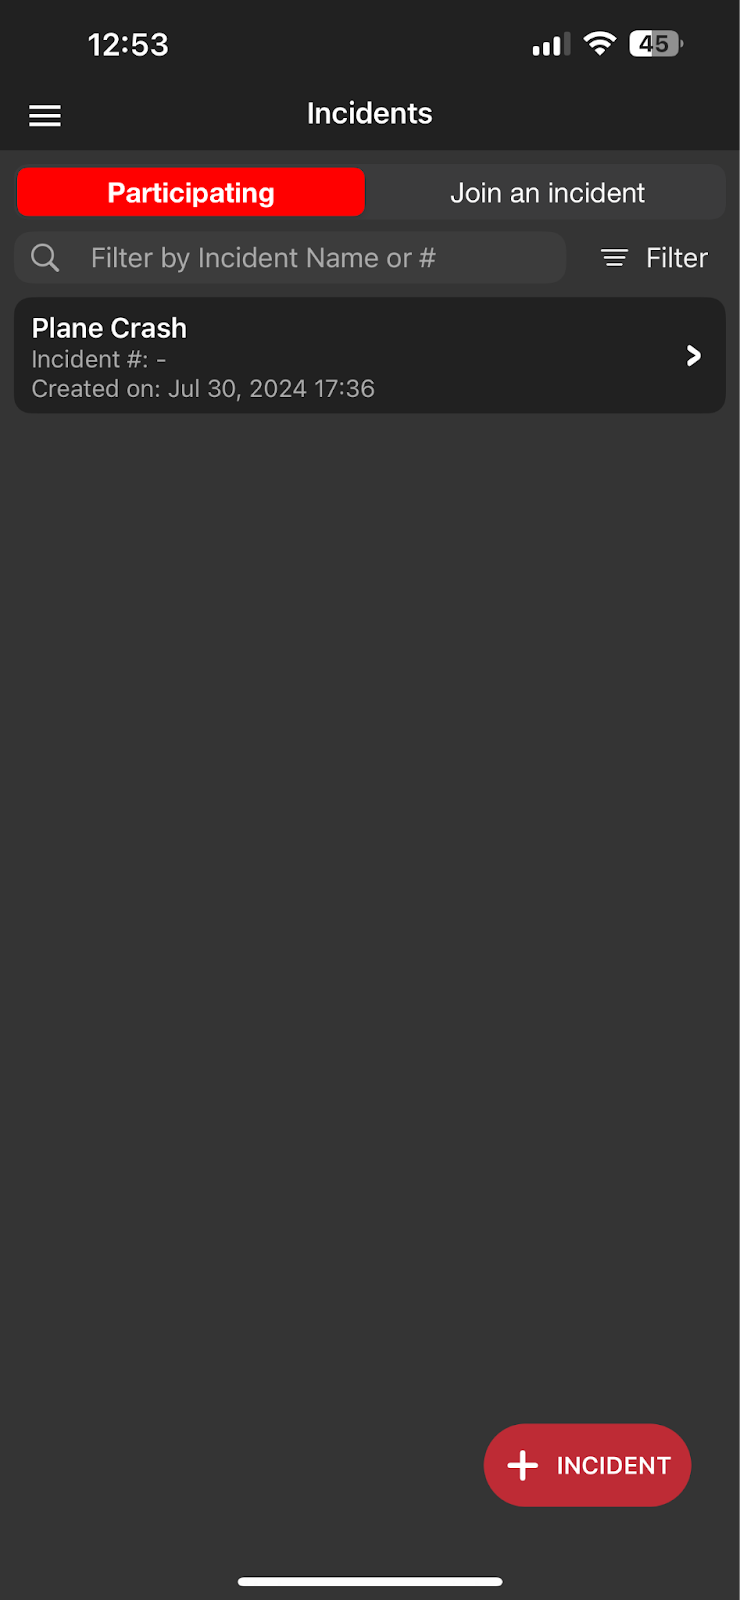
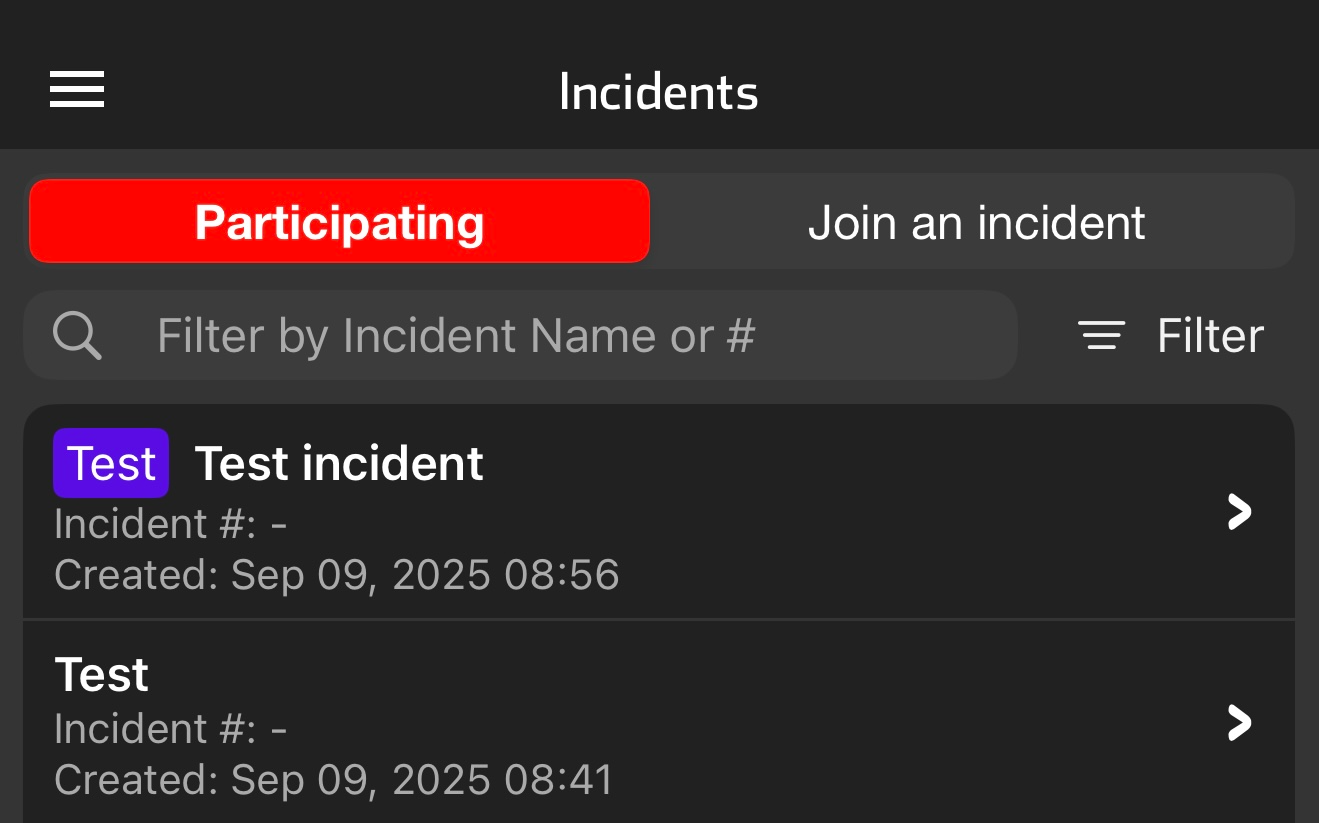
Step 1: From the navigation menu, tap Incidents. A list of all Participating (you have joined or your entity has been added to) or Nearby (within ⅓ mile of your location or within your agency's incident coverage area) Incidents will be displayed. To create a new Incident, tap the + Incident Icon in the lower right corner.
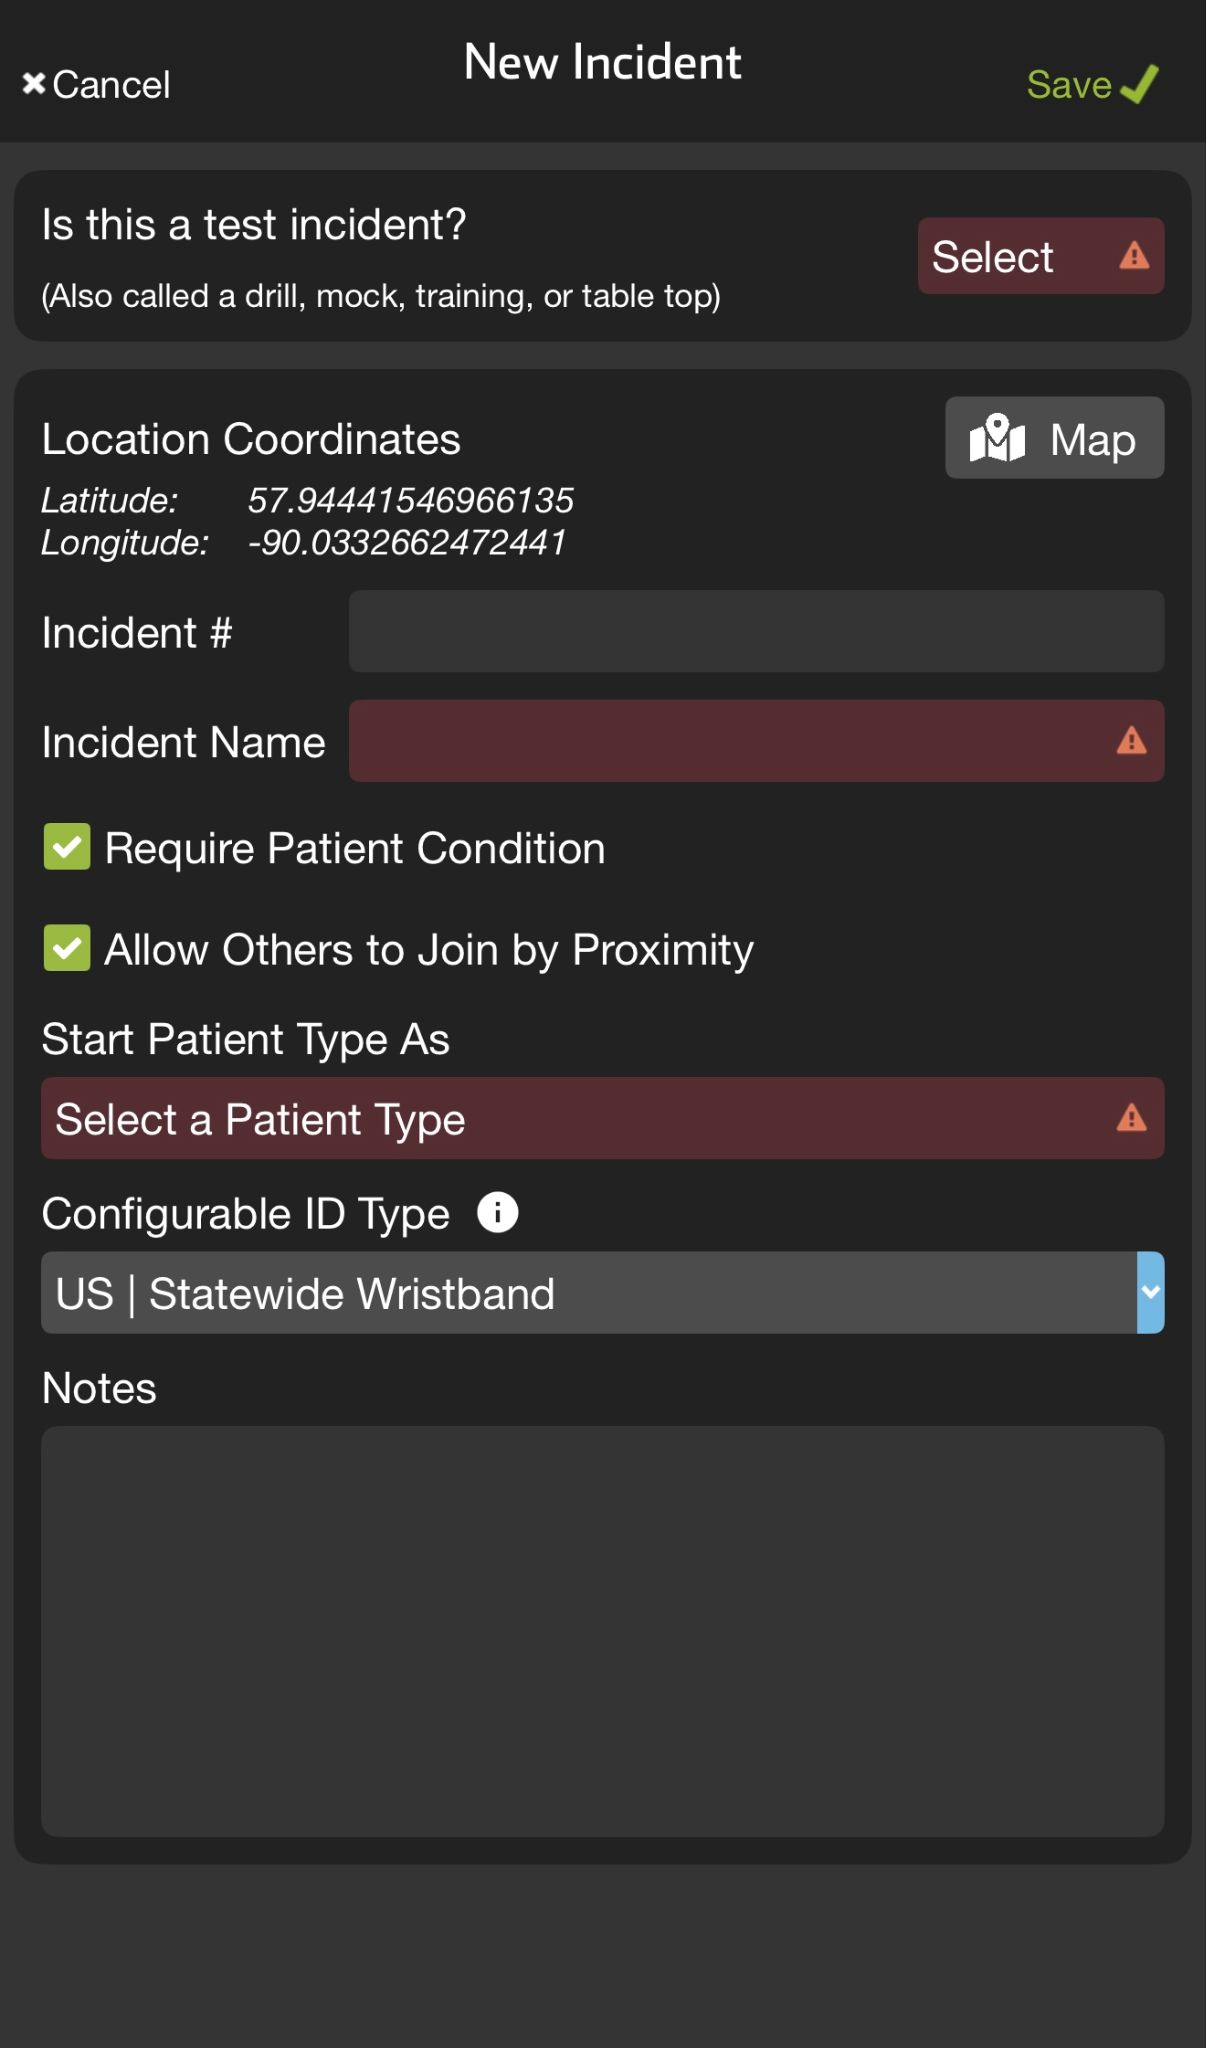
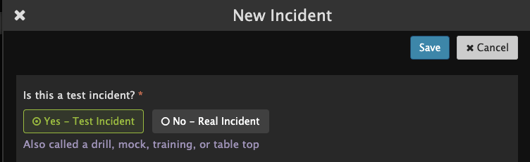
Step 2: All red fields with a caution triangle are required fields. Set incident as real or test, assign an incident name, select a patient type, and select the ID type.
Optionally assign an Incident #, require Patient Condition and Allow Others to Join by Proximity.
Note: The notes section supports the inclusion of hyperlinks to websites, Email addresses, and physical addresses.
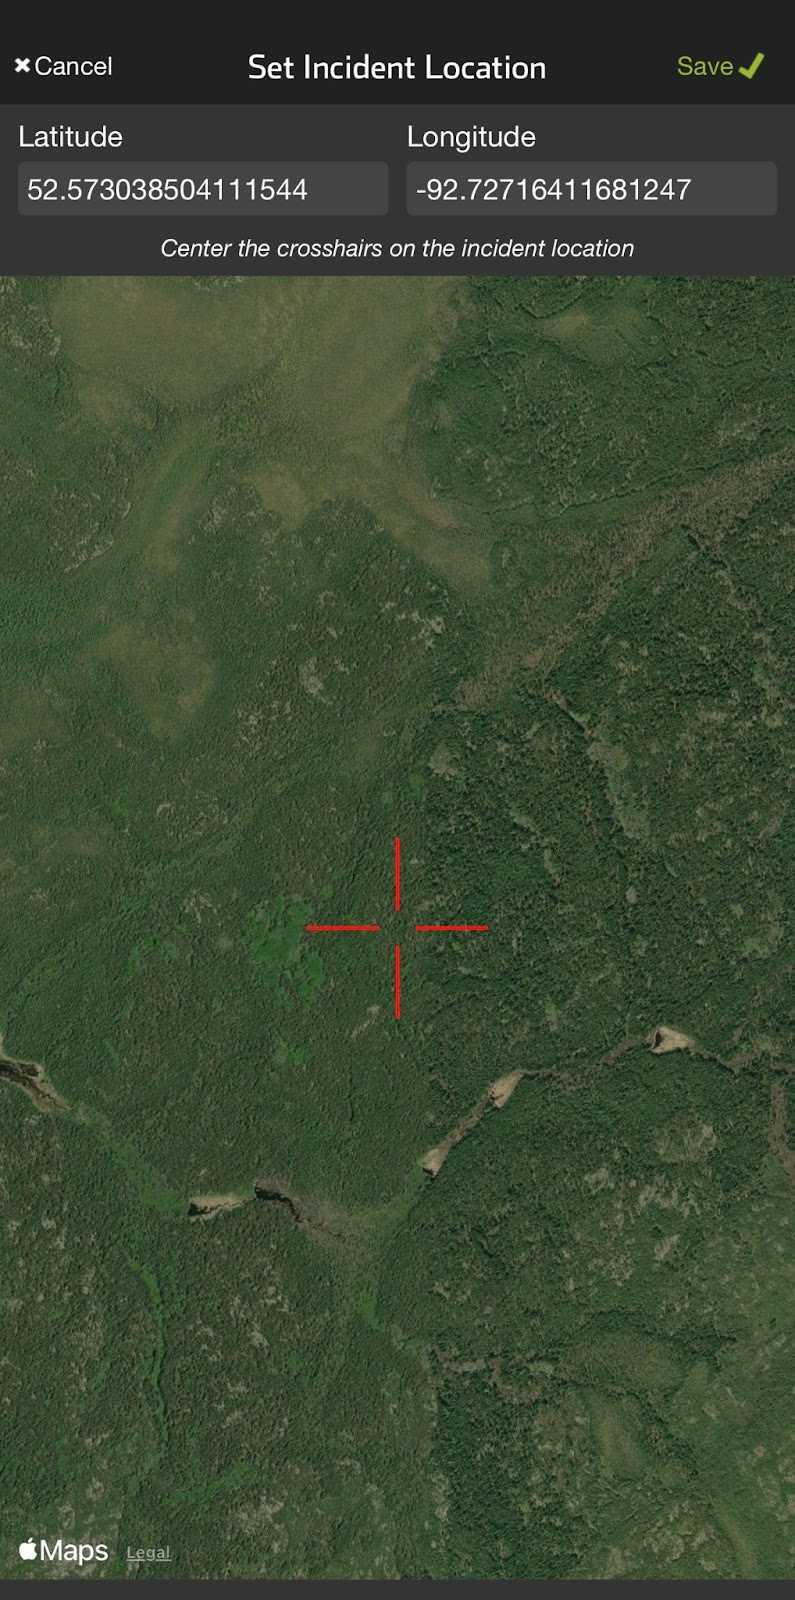
Step 3: To assign location coordinates that are different from your current location, tap Map to change the Incident location.
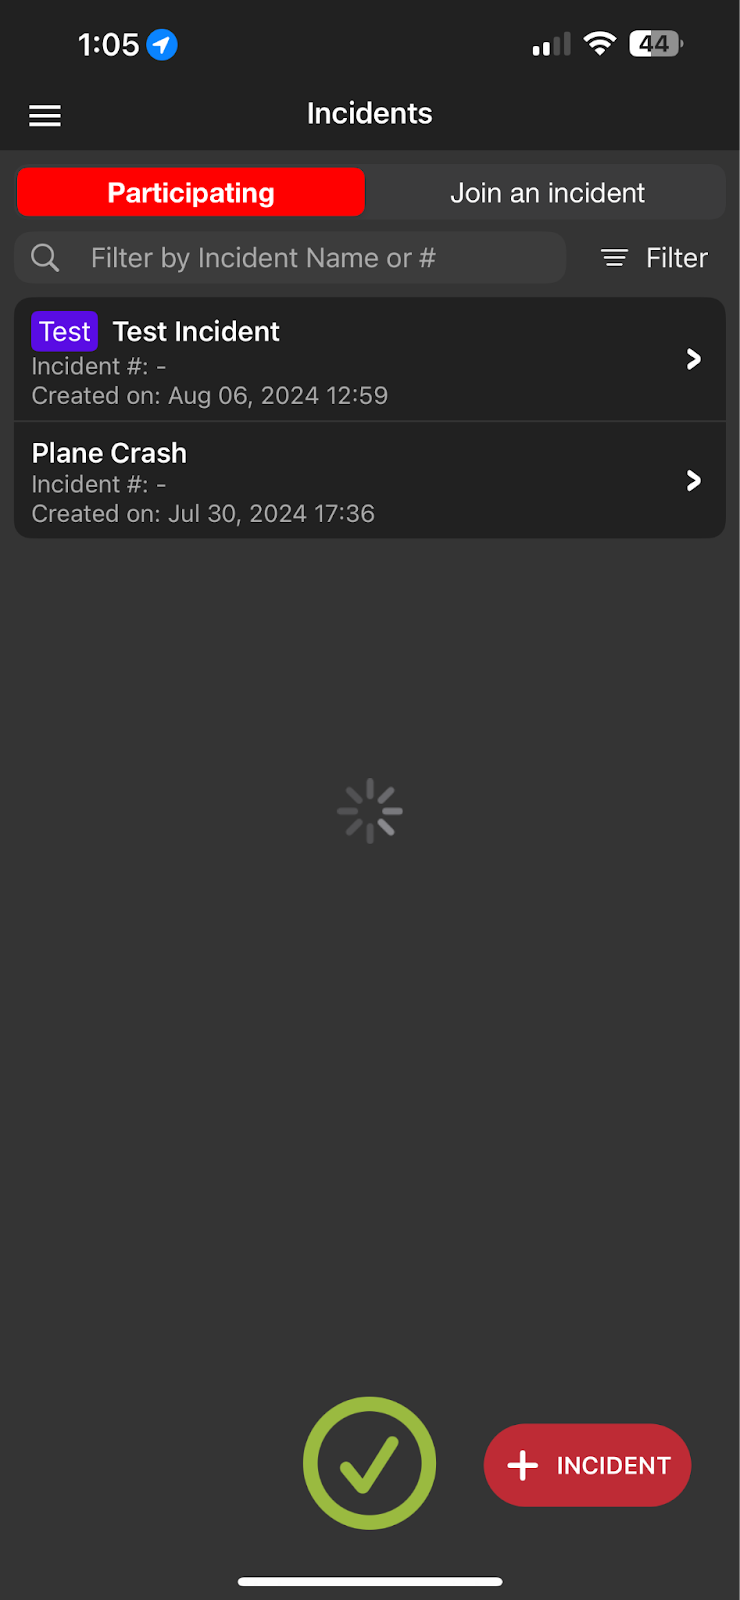
Step 4: Tap Save. A green confirmation checkmark will appear at the bottom of the screen to confirm a new incident has been created.
Create an incident in Pulsara Web
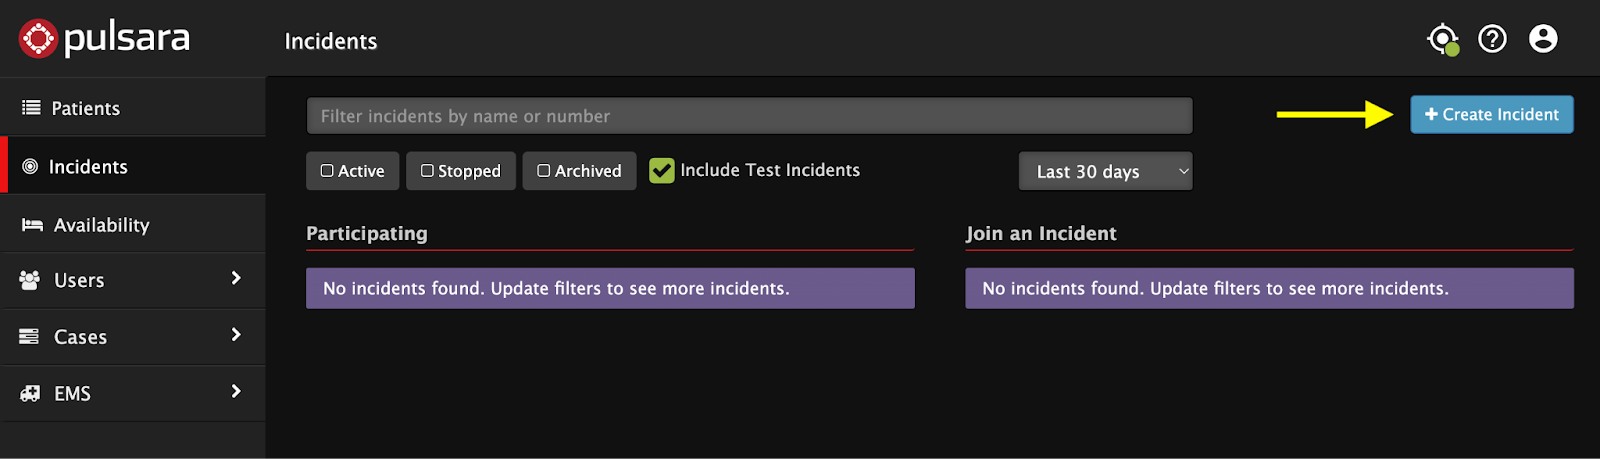
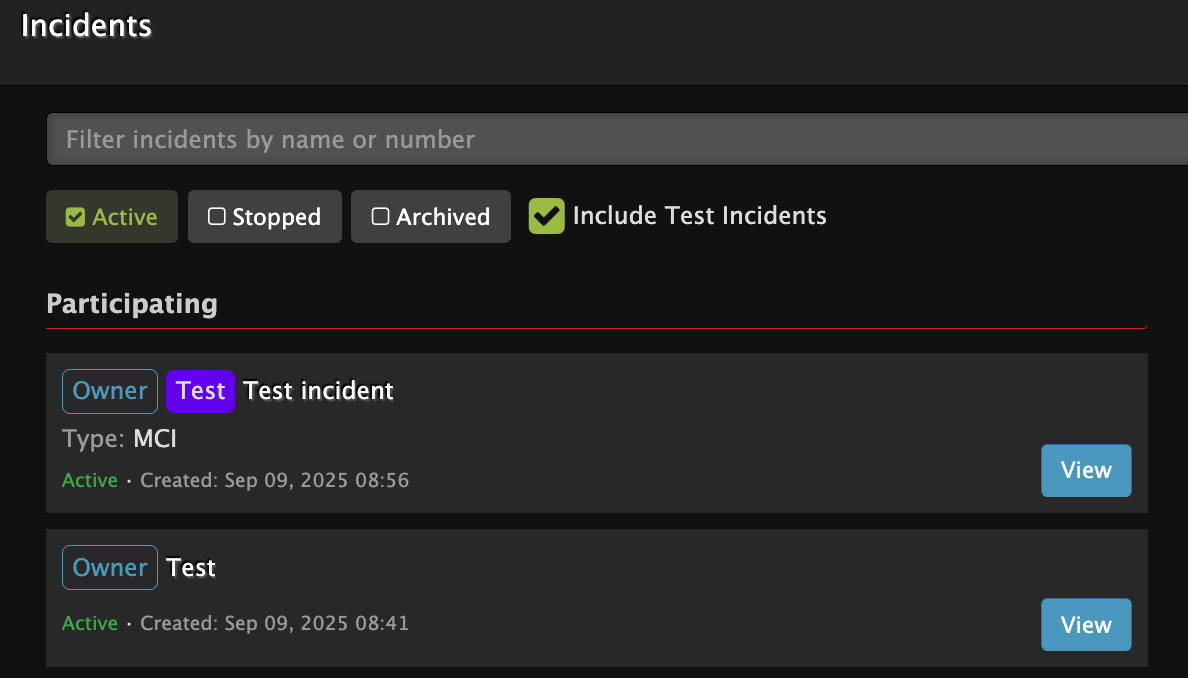
Step 1: From the left navigation menu, select the Incidents tab. A list of all Participating (you have joined or your entity has been added to) or Nearby (within ⅓ mile of your location or within your agency's incident coverage area) Incidents will be displayed. To create a new Incident, tap the + Create Incident Icon in the upper right corner.
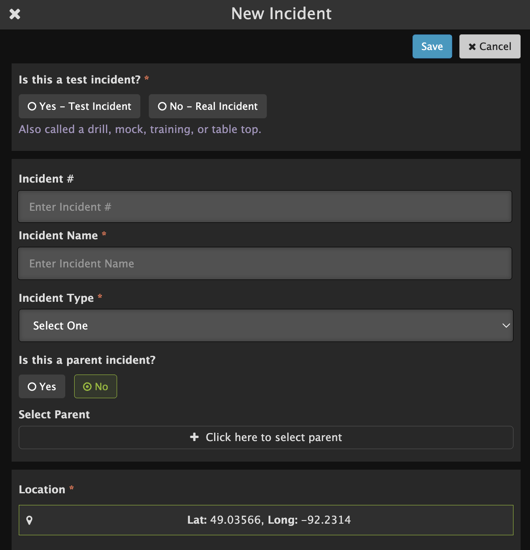
Step 2: All red fields with a red asterisk are required fields. Set incident as real or test, assign an incident name, select an incident type, select a patient type, and select the ID type.
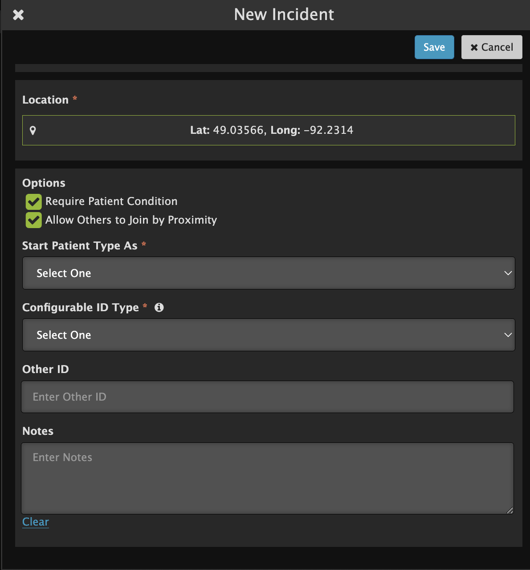
Optionally assign an Incident #, if the incident is a Parent Incident, require Patient Condition and Allow Others to Join by Proximity.
Note: The notes section supports the inclusion of hyperlinks to websites, Email addresses, and physical addresses.
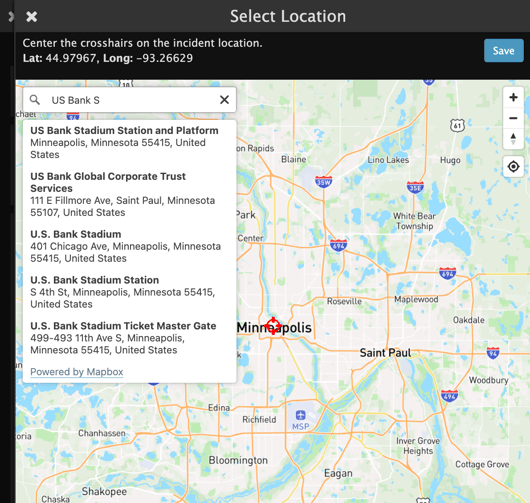
Step 3: To assign location coordinates that are different from your current location, tap Location to change the Incident location. Optionally, drag the crosshairs to center on a location or search for a location.
- Locations for an Incident via search can be found and set using
- A specific address - "138 East Main Street..."
- A point of interest - "mall" or "school" or "restaurant"
- Locality type (city, neighborhood)
- Latitude/longitude coordinates
- Matching items appear as you type. Simply click on an item and the map centers on that location.
Step 4: Tap Save.
Test Incidents
When creating an incident, selection will be required for if the incident is a Real Incident or a Test Incident

When a test incident is created, a purple Test label will be displayed in the incidents list & when editing the incident.
All patients created in the test incident will have the purple Test label associated with the patient channel
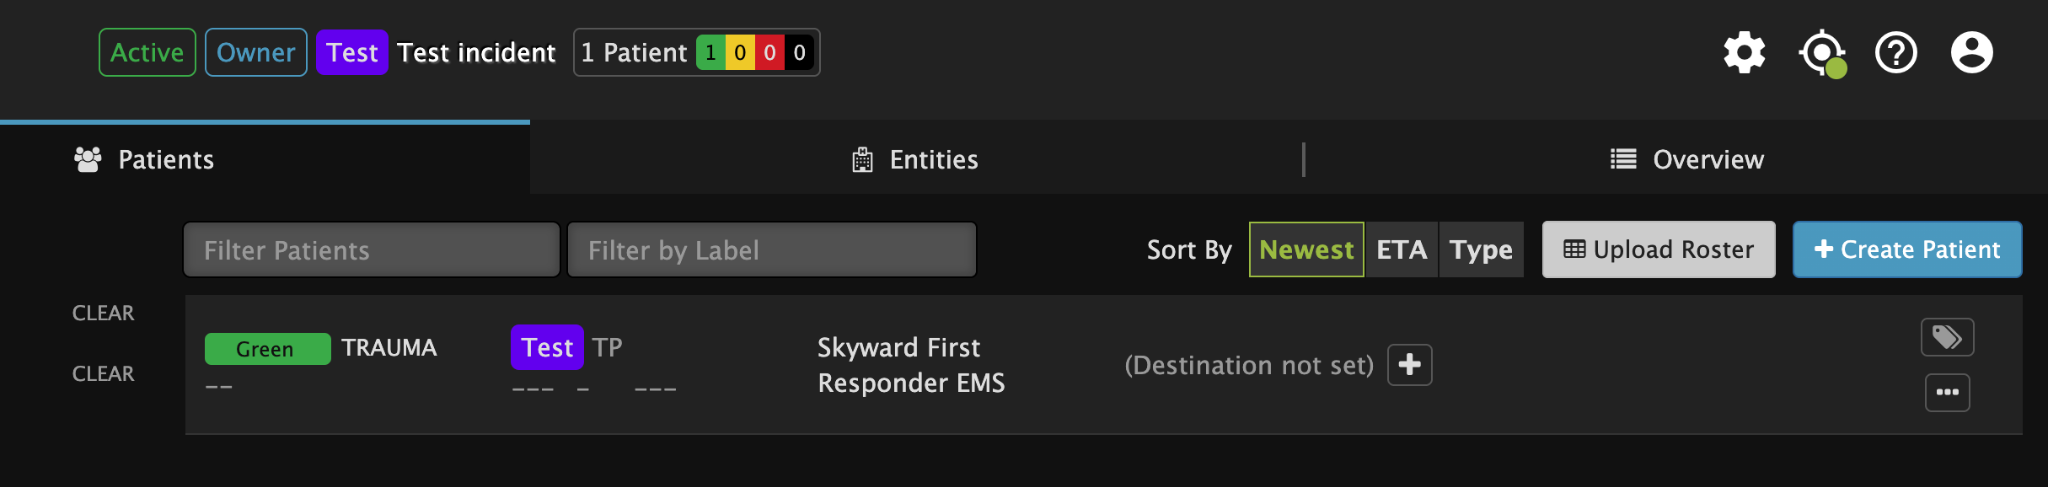
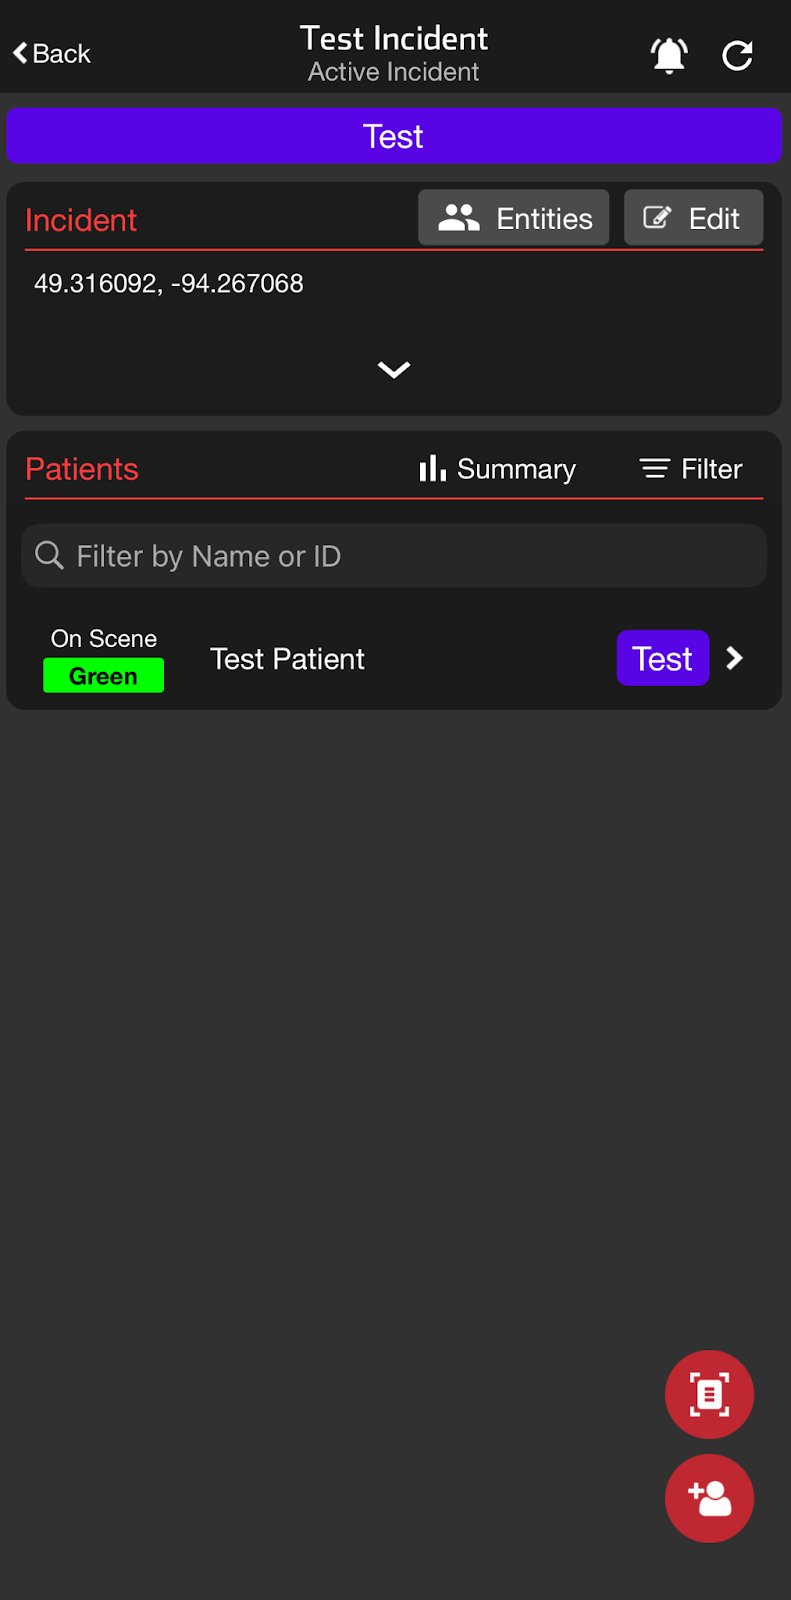
Patients associated with a Test Incident will also appear with a purple "Test" visual indicator in the following locations:
- Incident Patient List
- Pulsara Web and Mobile Patient Lists
- History List (Mobile)
- Manage Cases
- Case Export (A column called “Test Status”)
- Incident Patient Export