This article will walk you through creating an account when your facility has an identity provider configured for centralized log in.
Please note that you must have a user account in your facility’s Identity Provider (IdP) system before you will be able to complete the instructions below. If you do not, the below steps will not work and you will need an account first.
If your organization is interested in enabling the Federated Authentication feature, please contact support before proceeding. Click HERE to open a support ticket.
Creating an Account
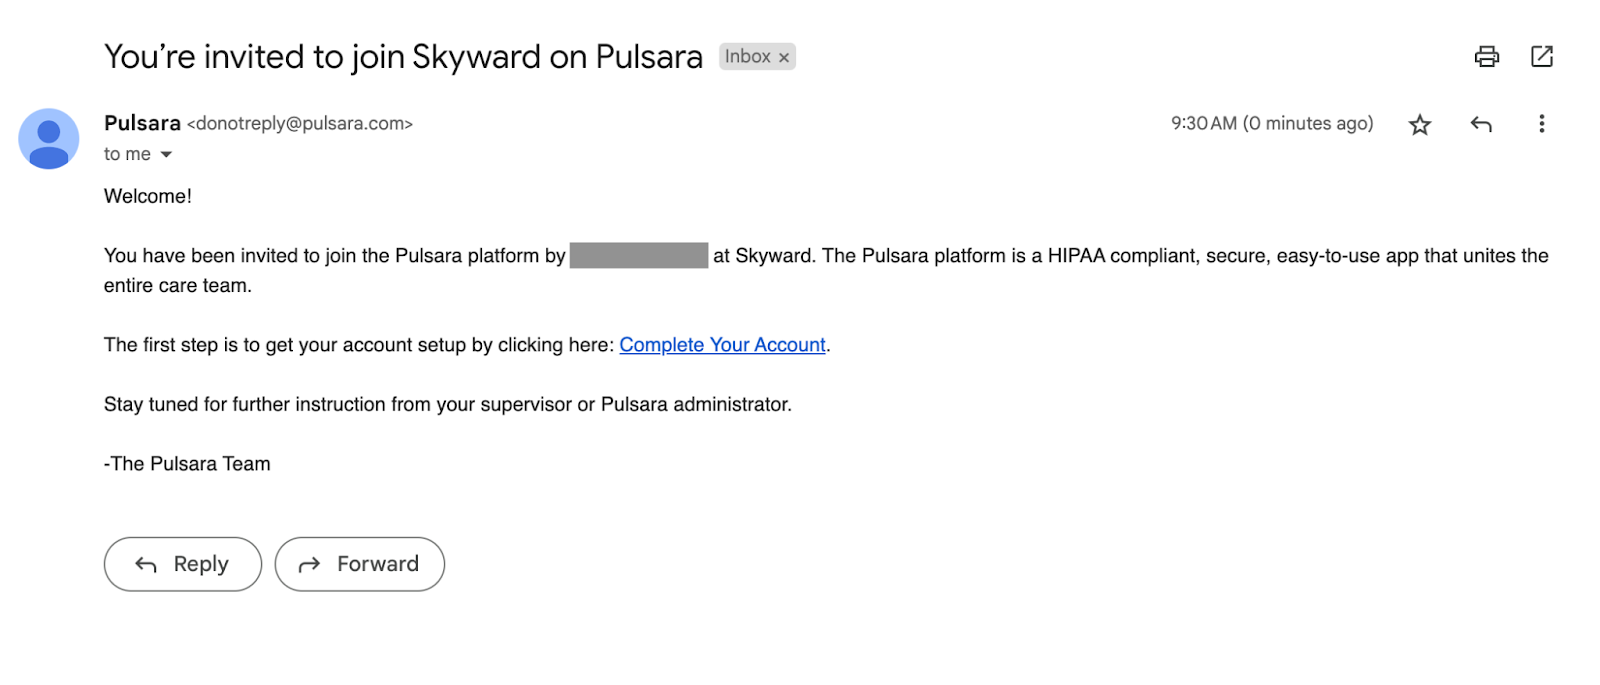
Step 1 - An admin at your facility will send you an invitation email similar to the image below. This email will come from donotreply@notifications.pulsara.com.
Once you receive the email in your inbox, click the Complete Your Account hyperlink which is highlighted in the image below.
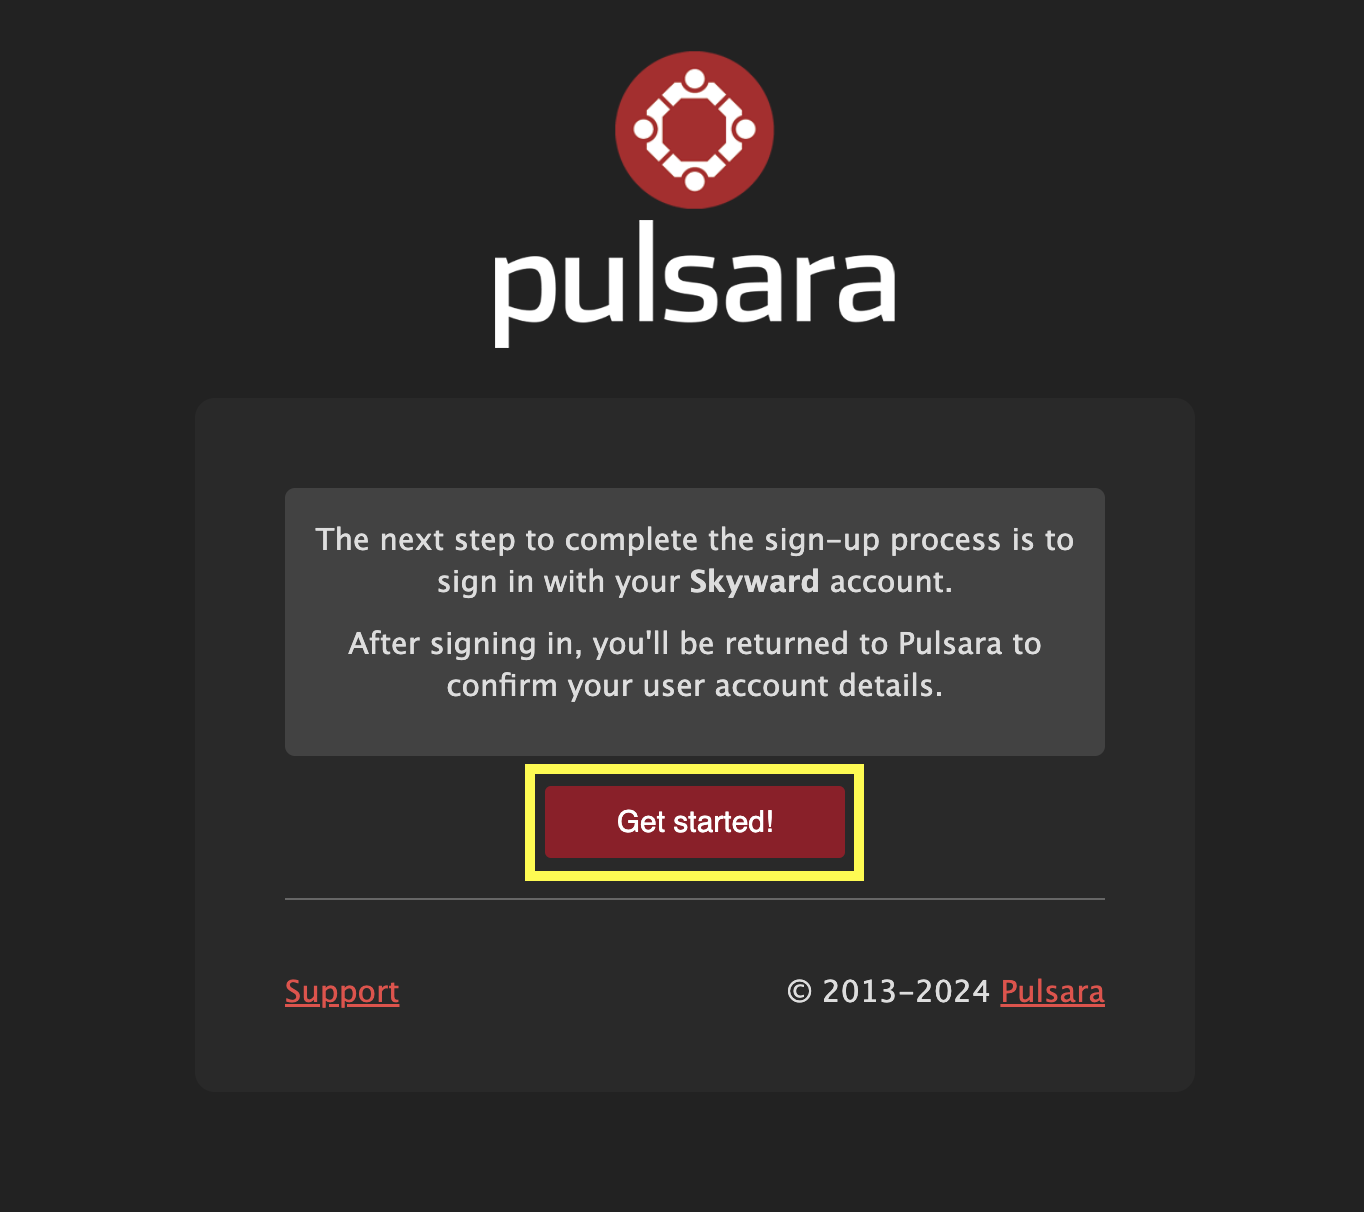
Step 2 - This hyperlink will take you to a page to confirm the sign-up process is with your hospital/EMS agency. If the information looks correct, press the Get Started! button.
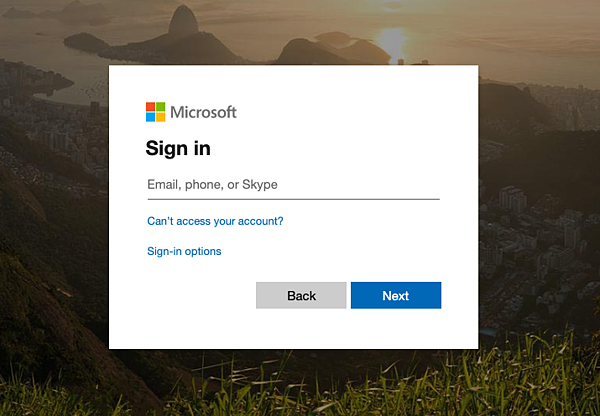
Step 3 - Once you click on the Get Started button, it will redirect you to your facility's Identity Provider, which manages your account at your facility. In this example, we will be using Active Directory Federation Services (Microsoft Azure).
Enter your Username and Password.
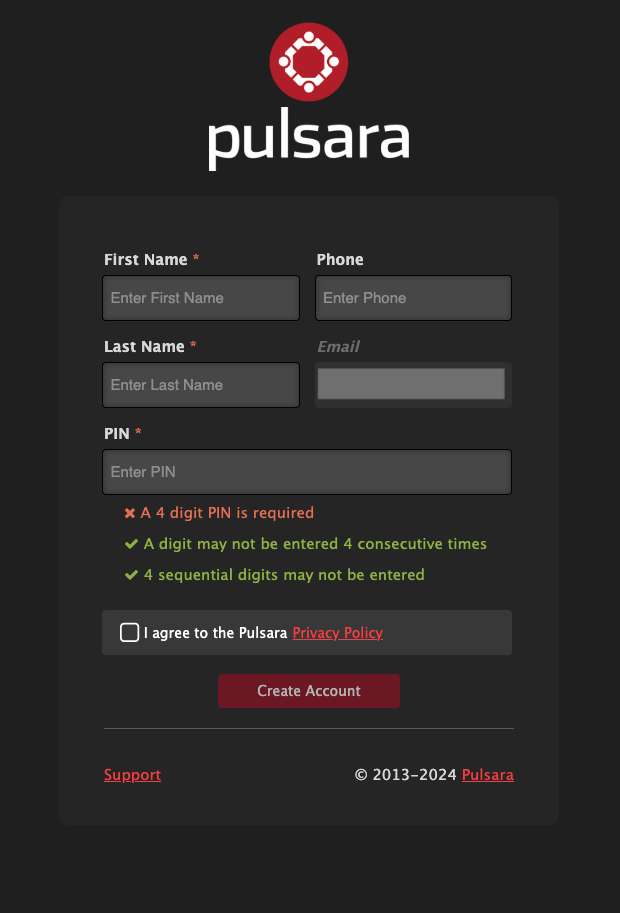
Step 4 - Once your login is successful, it will redirect you back to Pulsara where you can create your account.
Enter all fields within the form (every field should turn green).
Check the I agree with Pulsara Privacy Policy.
Next, click on Create Account.
Step 5 - A Welcome page will display that contains both Mobile Configuration links and your Web Login.
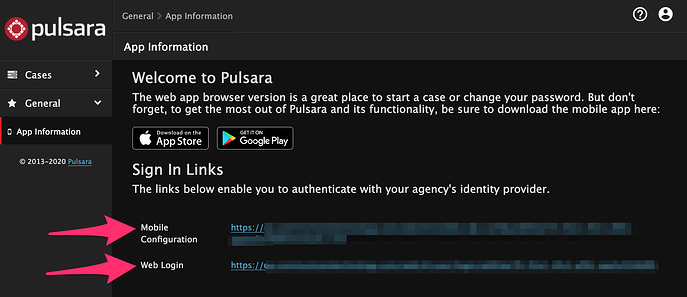
In case you need them later, you’ll also receive an email message with the links noted above.
To continue the setup for the mobile app, see Federated Authentication Mobile Log in. To continue on our browser app, see Federated Authentication Browser App Log in.