Attach an ECG to a Patient Channel
ECG images can be added two different ways: from an integrated monitor or by manually snapping a photo of the monitor screen or print out. Images can be added to the patient channel during patient creation or after a patient channel is active.
Pulsara supports integrations with select Philips and ZOLL monitors. These integrations require additional setup by an administrator at your organization to enable users to easily attach ECGs to patient channels.
Please refer to these Knowledge Base articles for administrator setup instructions:
How to Setup Philips Monitor Integrations
How to Setup ZOLL Monitor Integrations
Once monitors have been connected in Pulsara, attach ECGs from integrated monitors.
Manually Add an ECG Monitor Printout or Photo to the Patient Channel
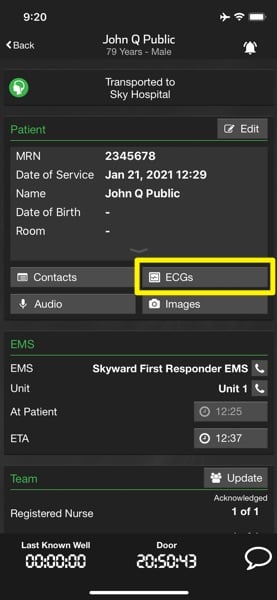
Scroll down the patient channel and tap on the ECGs button.
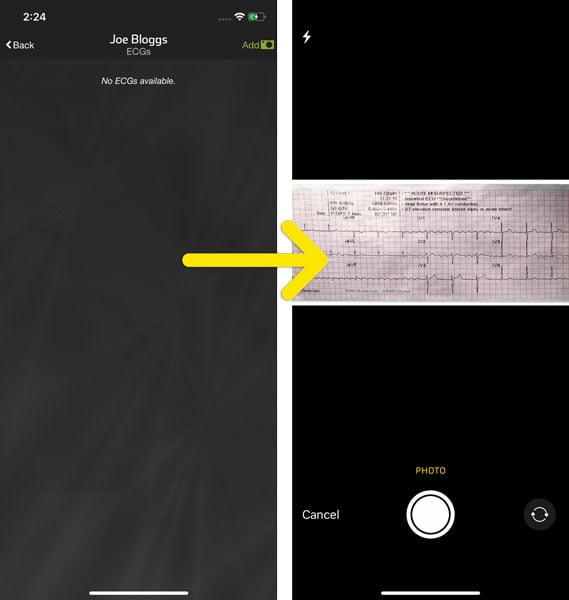
After a few moments, the camera will automatically switch on to take a photo. If ECG photos have already been added, tap Add in the upper right corner to add more images.
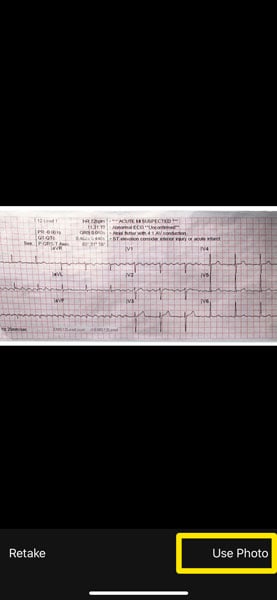
After snapping a photo of the ECG printout or monitor, attach it to the patient by tapping Use Photo (iOS) or Keep (Android).
Each image captured can be viewed larger/magnified by using a pinch motion with two fingers. Images can be enlarged before or after being attached to a patient channel. (On iOS, tap on the image to open a zoom-ready view.)
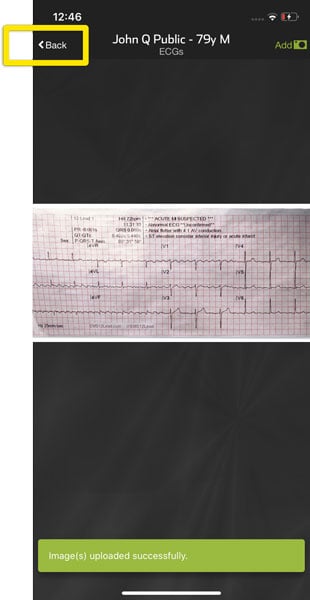
A confirmation will display showing that the monitor photo has been attached to the patient.
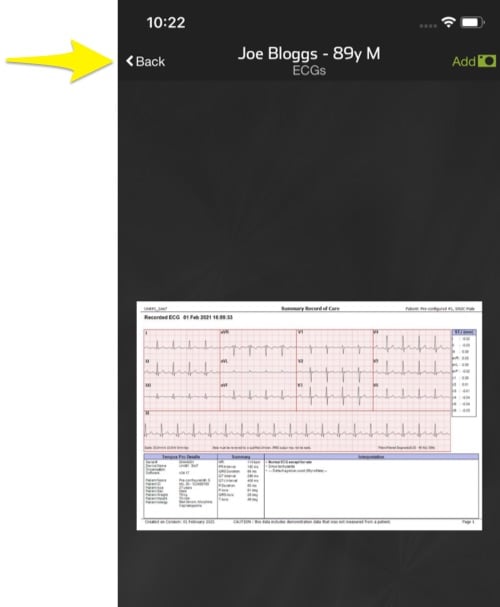
Tap Back in the upper left corner to return to the patient channel.
The number of ECG images attached to the patient will appear next to the ECGs button.
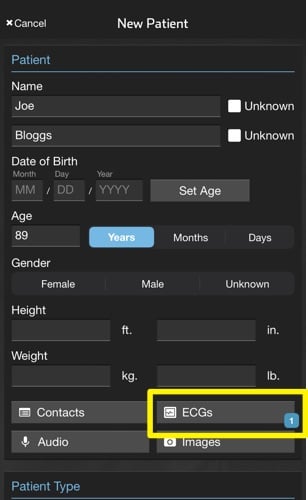
Attach ECGs from Integrated Monitors
Scroll down the patient channel and tap on the ECGs button.

If your agency has monitors configured in Pulsara, the Monitor button will appear allowing acquisition of ECGs from the cloud. Pulsara currently supports integrations with ZOLL and Philips monitors. To attach images from an integrated Monitor, tap Monitor from the menu.
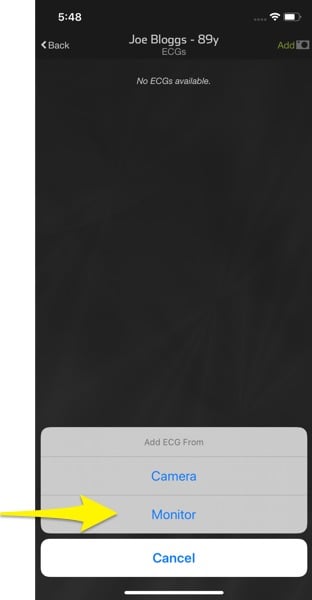
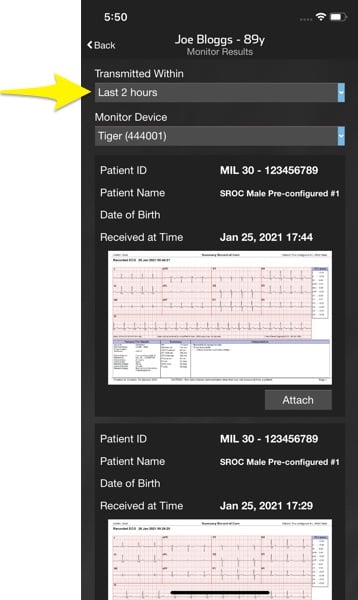
The list of available ECGs from the currently selected Monitor will be listed. Find the correct ECG by matching the patient name, patient ID, and/or date of birth.
NOTE: If you do not see the ECG for your patient, ensure the device selected in the Monitor Device field is the one your team is using during your shift. This will ensure the correct ECGs are made available for attaching to your patient in Pulsara.
To view fewer ECGs, change the Transmitted Within option to one hour or 30 minutes.
Tap Attach below the appropriate ECG to add it to the patient.
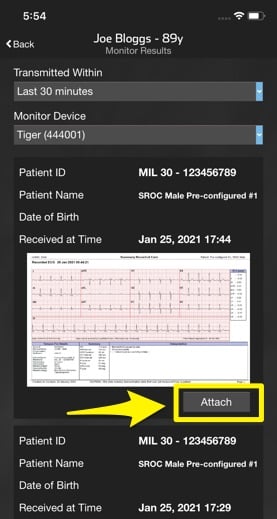
A confirmation will display showing that the ECG has been attached to the patient.
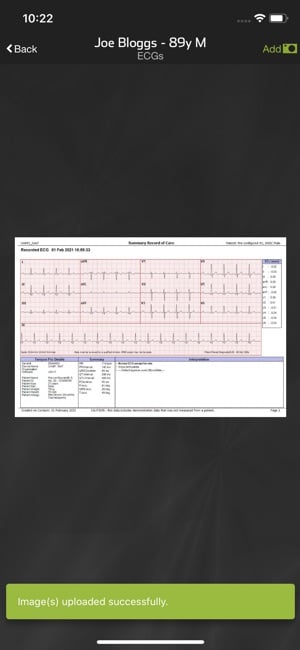
Tap Back in the upper left corner to return to the patient channel.
The number of ECG images attached to the patient will appear next to the ECGs button.

To add more ECGs to the patient, repeat the steps from the beginning.