1. Search for the PULSARA Application in the Google Play Store or use the QR code below:
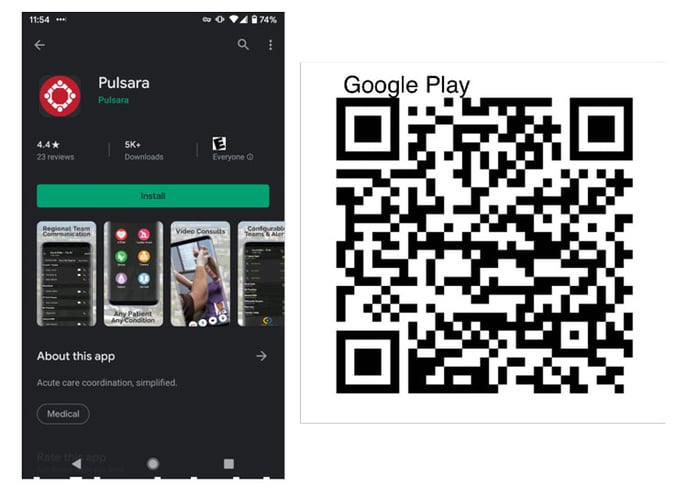
2. Download the application to your device.
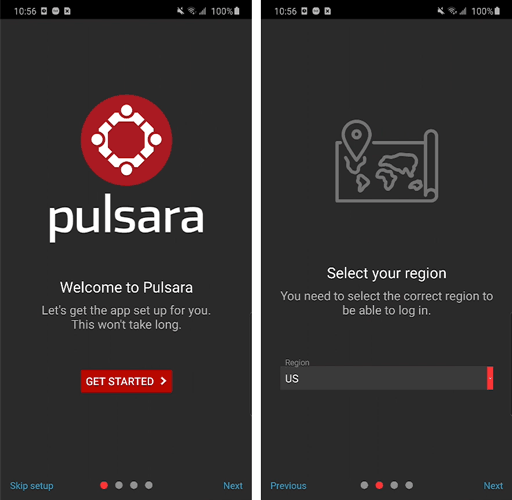
3. Once the application is downloaded to your device, open the PULSARA application by pressing on the Pulsara icon.
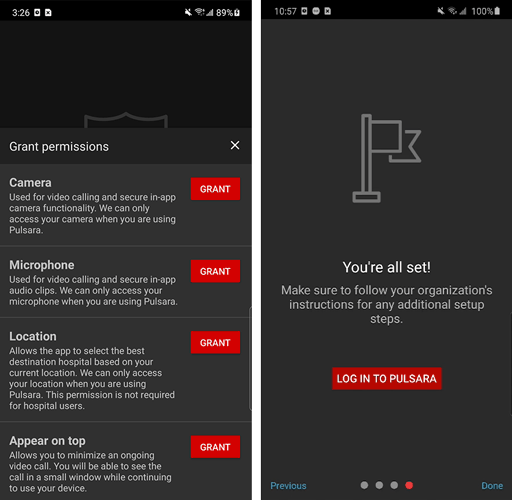
4. Follow the guided prompts to choose your region, and then give Pulsara access to all the phone features it needs to function properly (Region, Camera, Microphone, Location, and Appear on top). You'll then be prompted to login.
When tapping Appear on top, the Android settings app will open.
NOTE: The name of this permission varies on different versions of Android. Most often it is labeled "Appear on top” or as “Display over other apps.”
Scroll down and find the Pulsara app on the list and enable the permission.
Afterward, tap the OS back button to return to Pulsara. The Appear on top permission will now show the “Grant” button greyed out and will read “Granted.”
Tap the “X” button in the upper right to continue to the next screen.
Then tap LOGIN TO PULSARA to begin using the app.
That's it, you're now ready to login in and use Pulsara!
If the guided prompts above have been skipped:
Continue with the steps below to complete a manual setup of Pulsara.
1. Login to the application with the credentials you created during account setup.
2. Create a new patient by tapping the Red button in the lower right corner of the Patients List.
NOTE: This patient channel will not be saved and will only be used to grant permissions and then discarded.
![]()
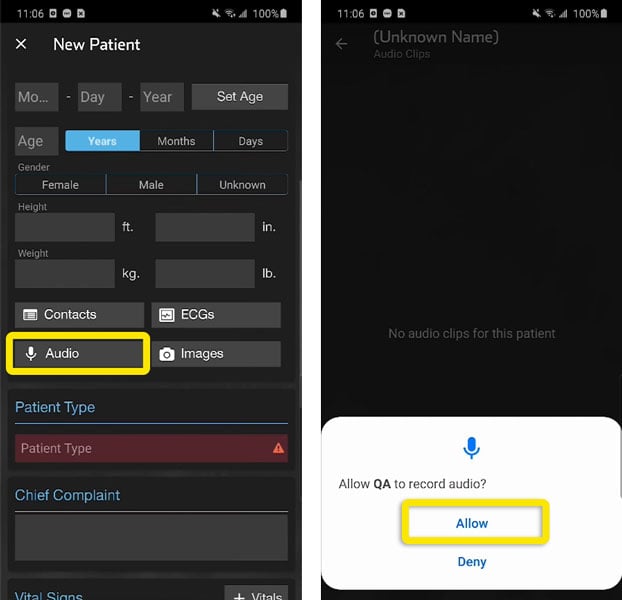
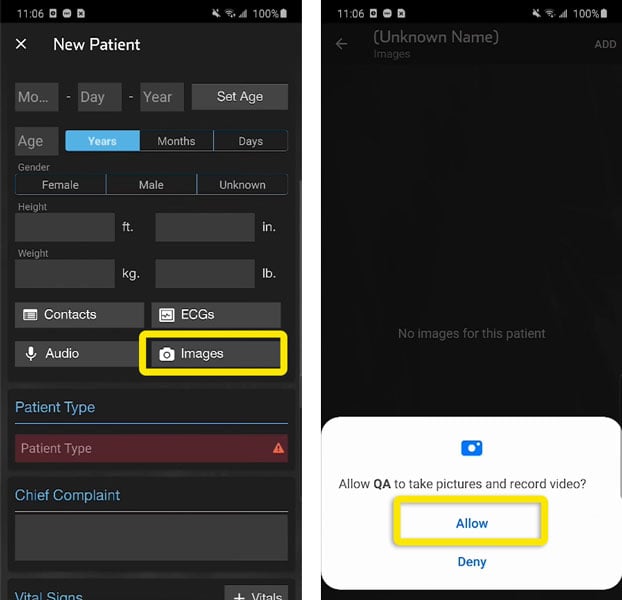
Hospital staff will need to choose a Method of Arrival before continuing. Scroll down until you can see the Audio and Images buttons to continue with next steps.
Allowing Audio Recording
3. Tap the Audio button and then tap Allow in the prompt that appears.
Allowing the Camera
4. Navigate back to the new patient screen and tap the Images button and then tap Allow in the prompt that appears.
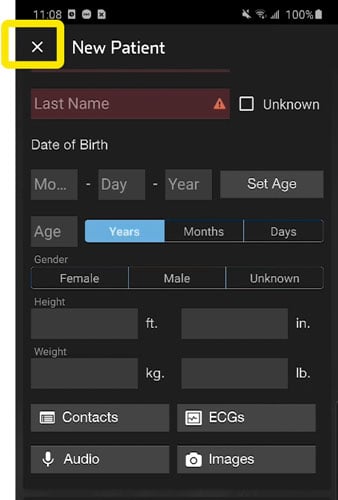
5. As we do not want to start a case at this time, tap on the "X" button in the upper left hand corner to avoid alerting a team. Choose “Discard” in the prompt that appears.
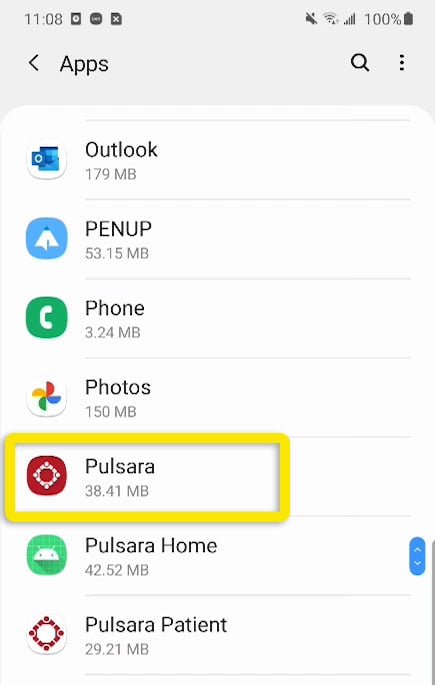
6. Close Pulsara and Open your Phone Settings App. (The Setting app icon usually looks like a gear.)
Locate the settings for Pulsara.
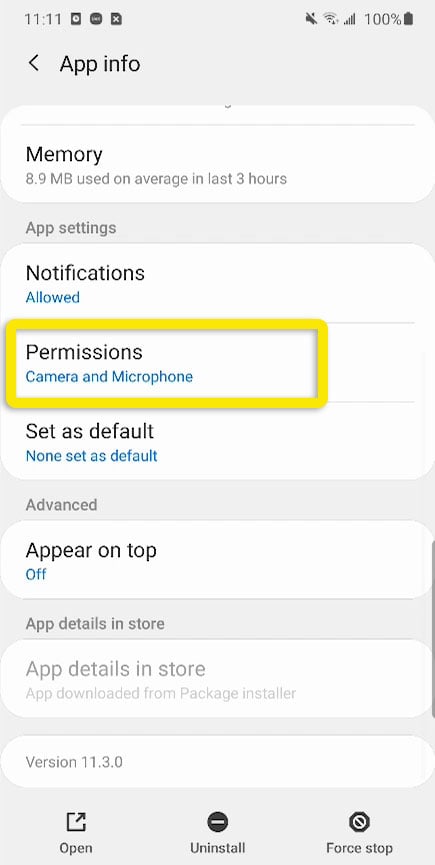
7. Scroll down and tap on the Permissions options.
8. Tap on the Location option.
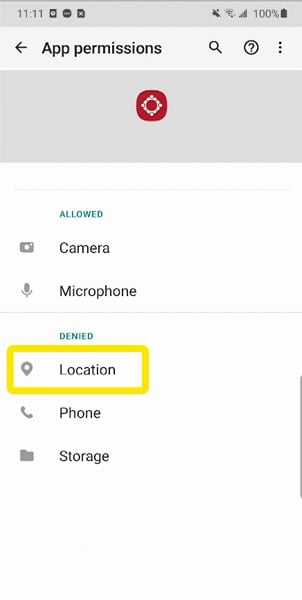
Change the option to Allow location access.

Next, tap the back button in the upper left.
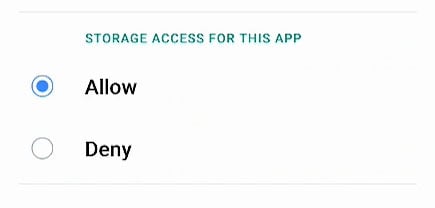
9. Choose the Storage option. (This will allow alert sounds to be stored on the device.)
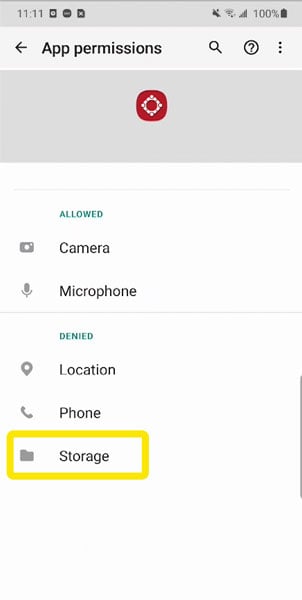
Change the option to Allow storage.
Close the Settings app and re-launch Pulsara.
Enabling Appear on top
10. Depending on your Android device, Enabling the Appear on top feature may be located in a few different places.
Open the Device settings and navigate to the Pulsara App.
Ensure that “Appear on top” or “Display over other apps” is enabled.
That's it! Your Pulsara app is now enabled for communication via camera, microphone, and push notifications.