Before getting started:
- If possible, check the account being invited to see if they are an Admin or User level role at the facilities where they already use Pulsara
- The account permission level (Role) for existing facilities must match the Role selected for the invitation for the new facility
- The email address in the account invitation must match the email address used for their existing Pulsara account
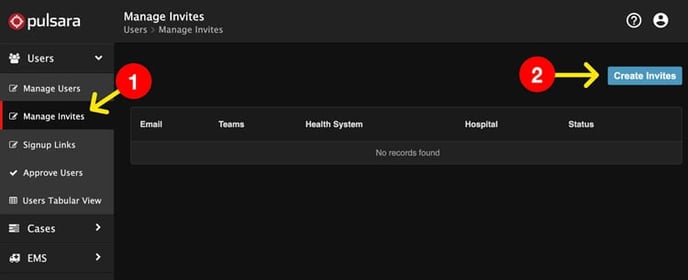
To invite the new clinician to your facility, click on Manage Invites from the navigation menu and choose Create Invites on the next page.
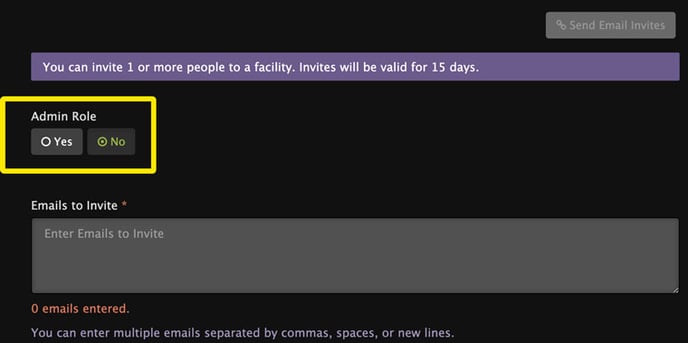
If the invited clinician has User level role at their current facility, choose No for the Admin Role option on the invitation page.
If the invited clinician has an Admin level role at their current facility, change the Admin Role option to yes.
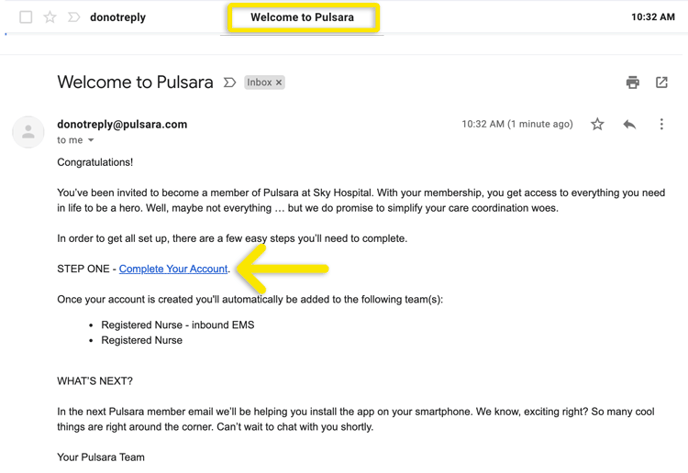
After sending the email invitation, the account holder will receive an email to complete the account linking.
Click the Complete Your Account link.
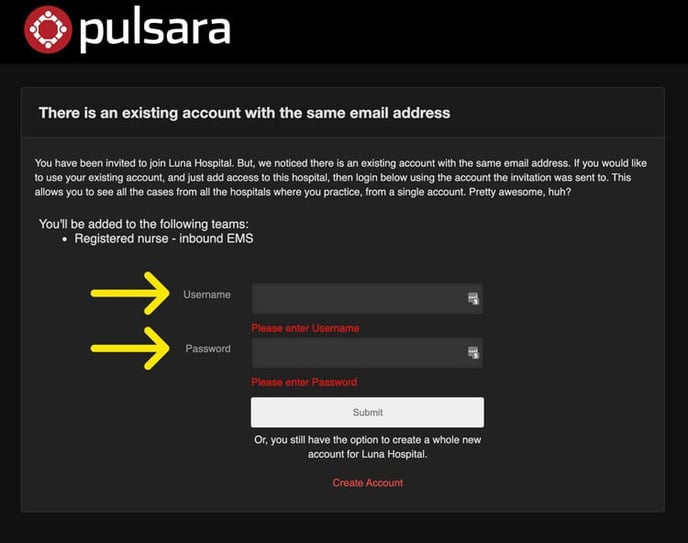
They will be navigated to a page that gives the option of using their existing account or creating a new one. On the existing account screen, enter their existing Pulsara username and password to successfully link their Pulsara account to the second facility.
Note: If the invited account does not reach this page, there are two possible explanations:
- The email address used for the invitation does not match the email used for their existing Pulsara account.
- The invitation was sent with a Role selected that does not match their existing account Role (Admin or User level)
In each case above, they will be directed to the new account screen and the user will not be able to add access to the additional facility using this invitation.
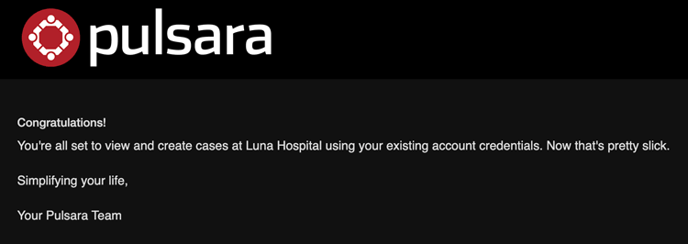
After successfully linking the account, they will reach this confirmation page and can begin working in Pulsara at the new facility.